Double-sided Cushion Covers – Riverina design
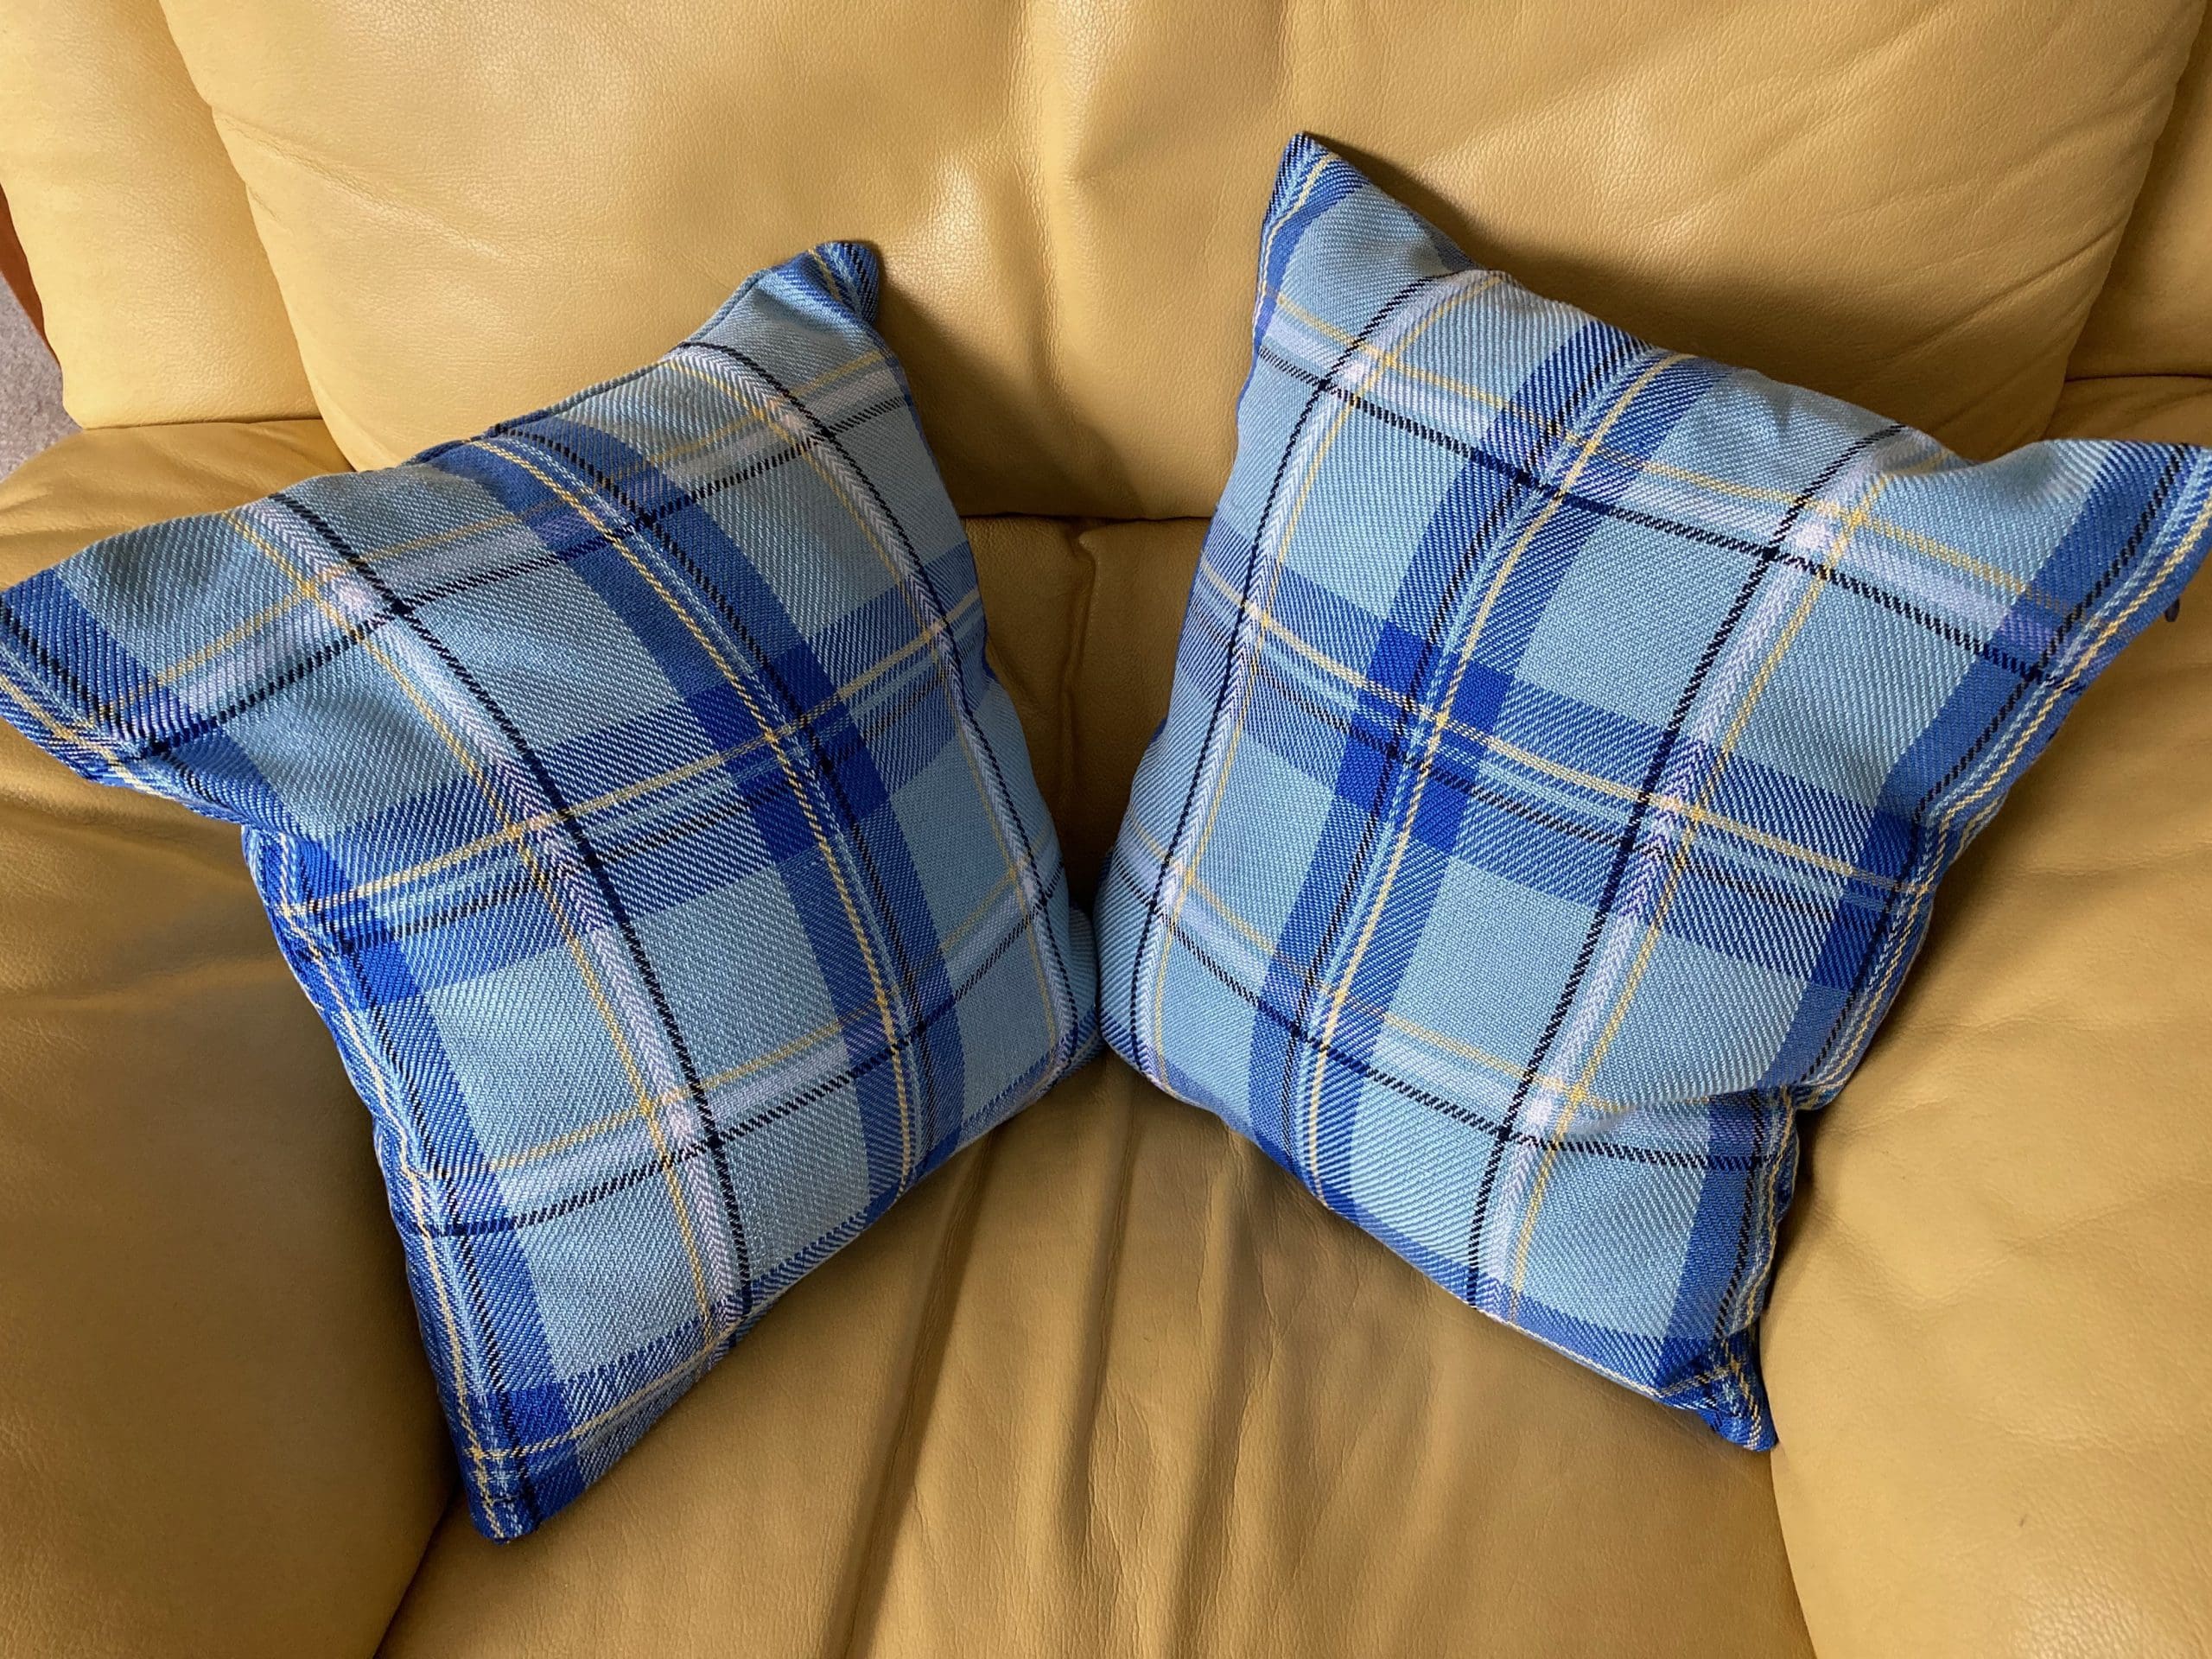
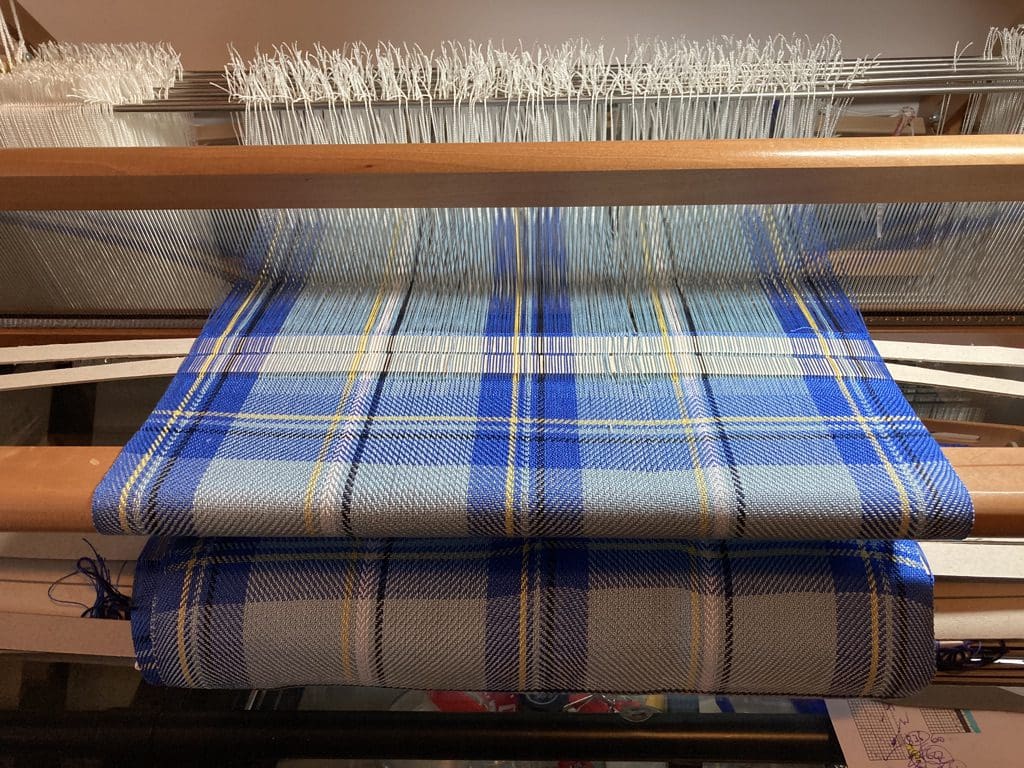
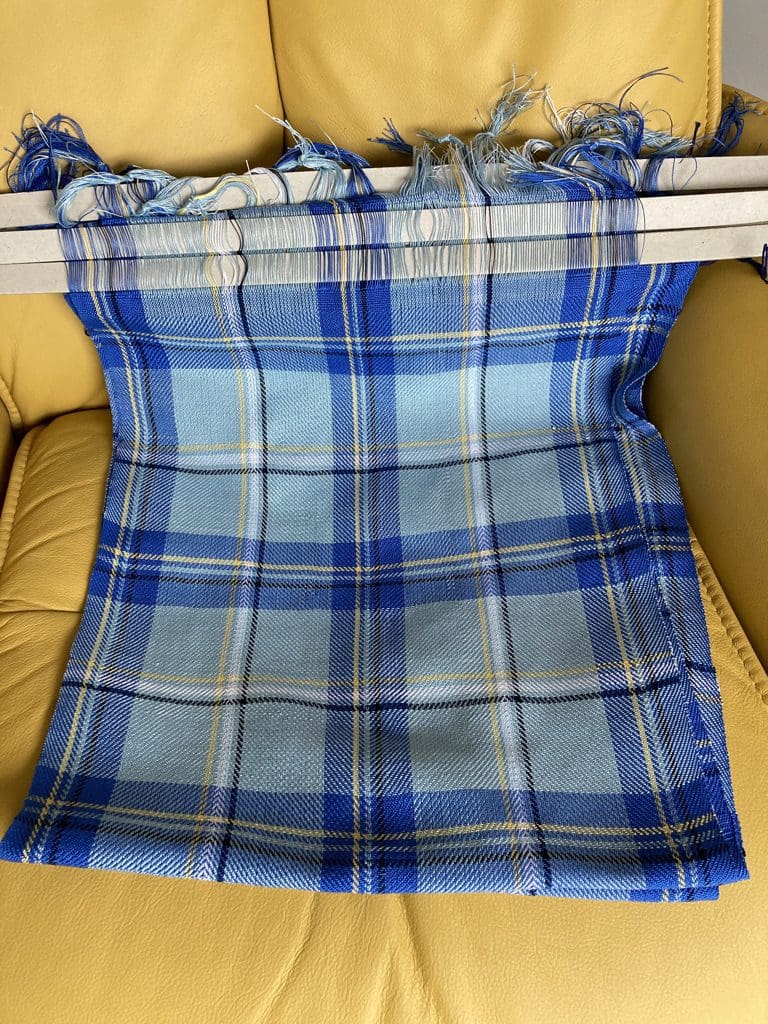
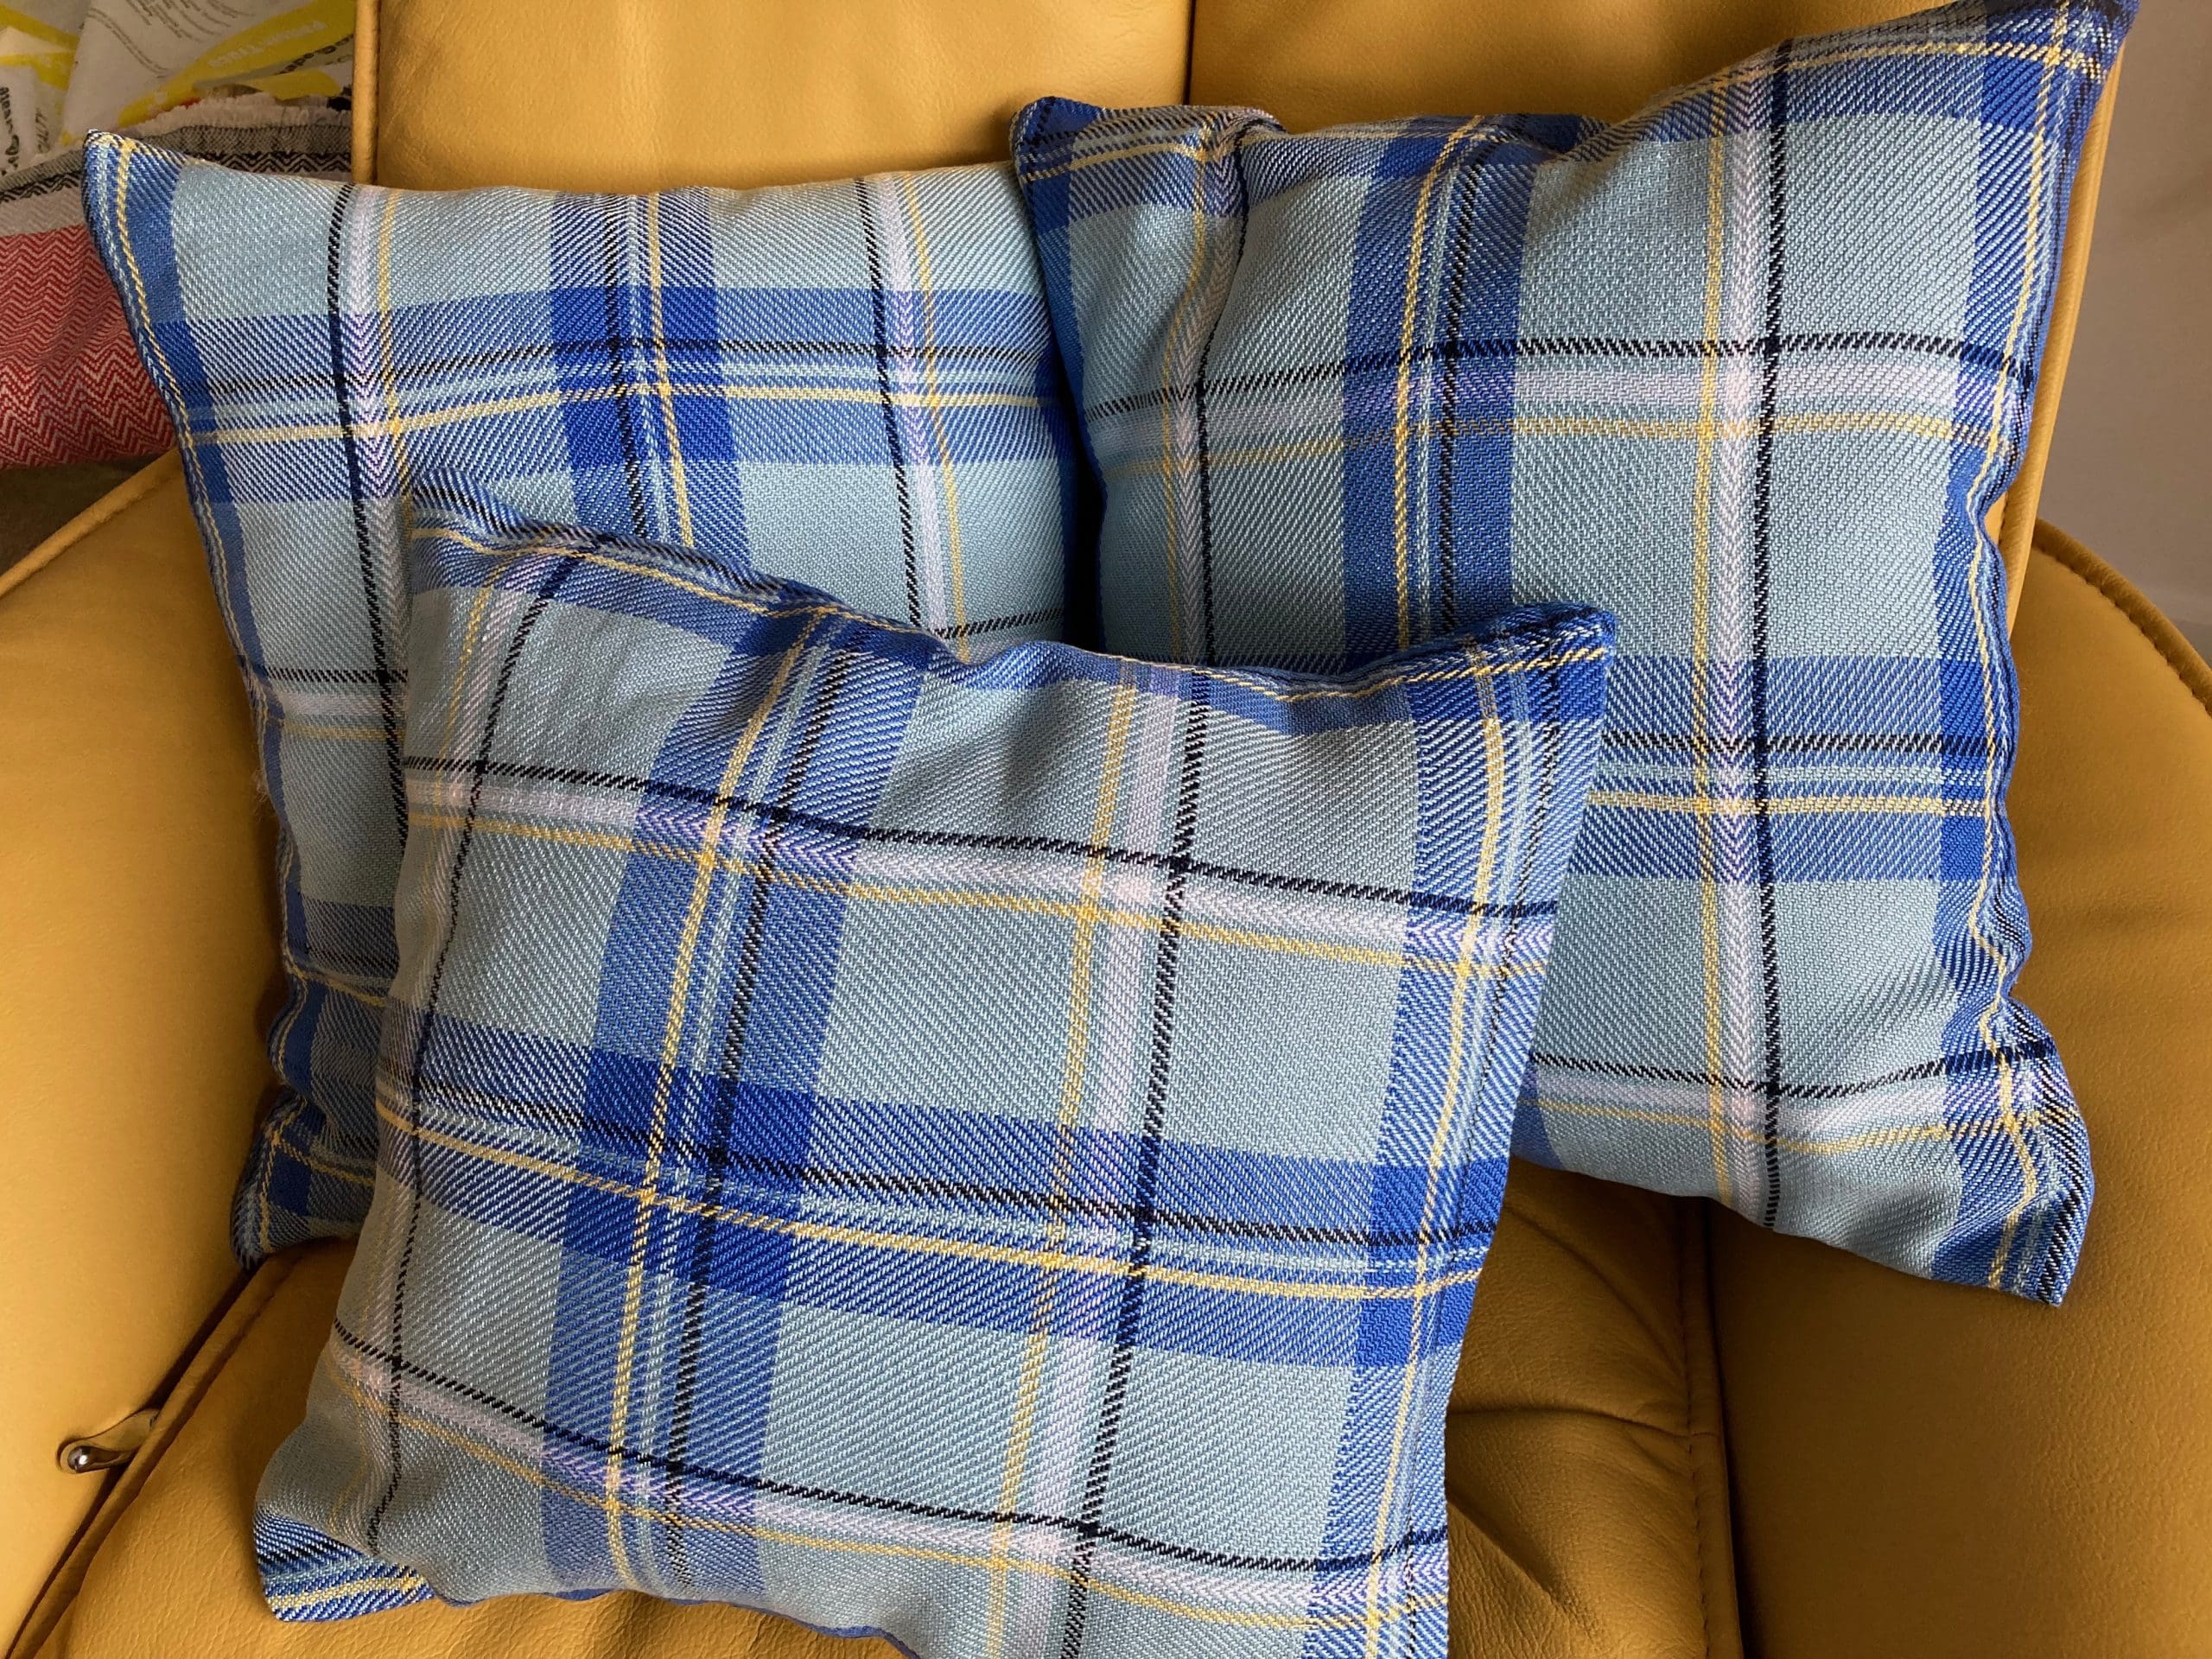
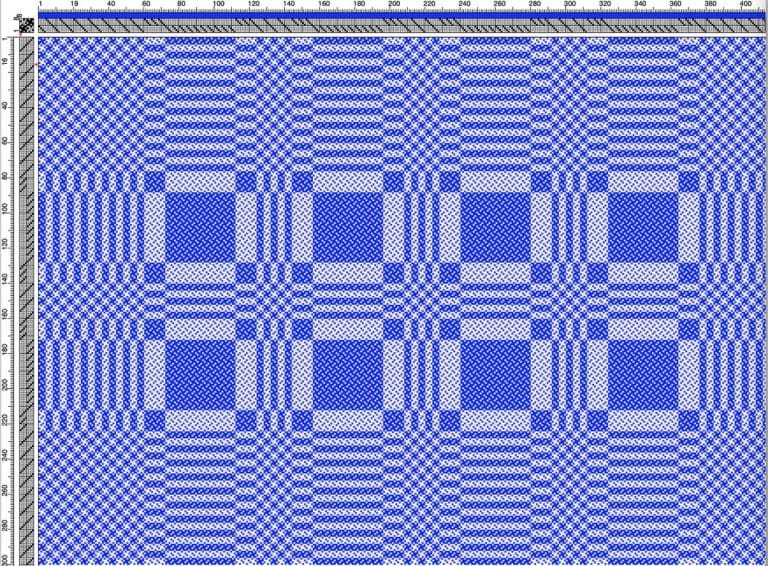
We have a craft fair at the Grange (where I live in Wagga) in a few weeks. Helen commissioned me to weave 3 double side cushion covers with my Riverina design.
- Each side of each cushion is to be 40 cm by 41 cm. As double sided, each piece is to be 82 cm by 40 cm.
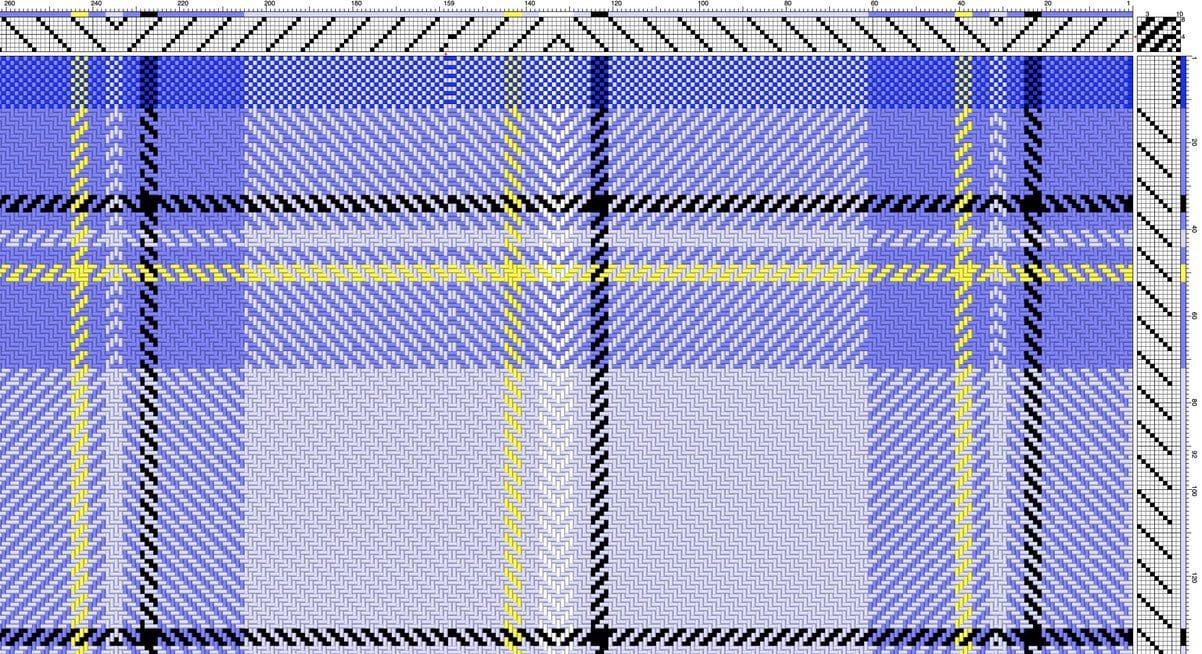
- We decided to add 12 rows of tabby to each end of each piece, as well as 12 rows of tabby to separate the two sides – so we can double them over. The rest is in an easy twill – with a few reverses of direction for interest, taken care of in the threading of the heddles – step 7 below. I am going to use just a single thread of floating selvedge on each side.
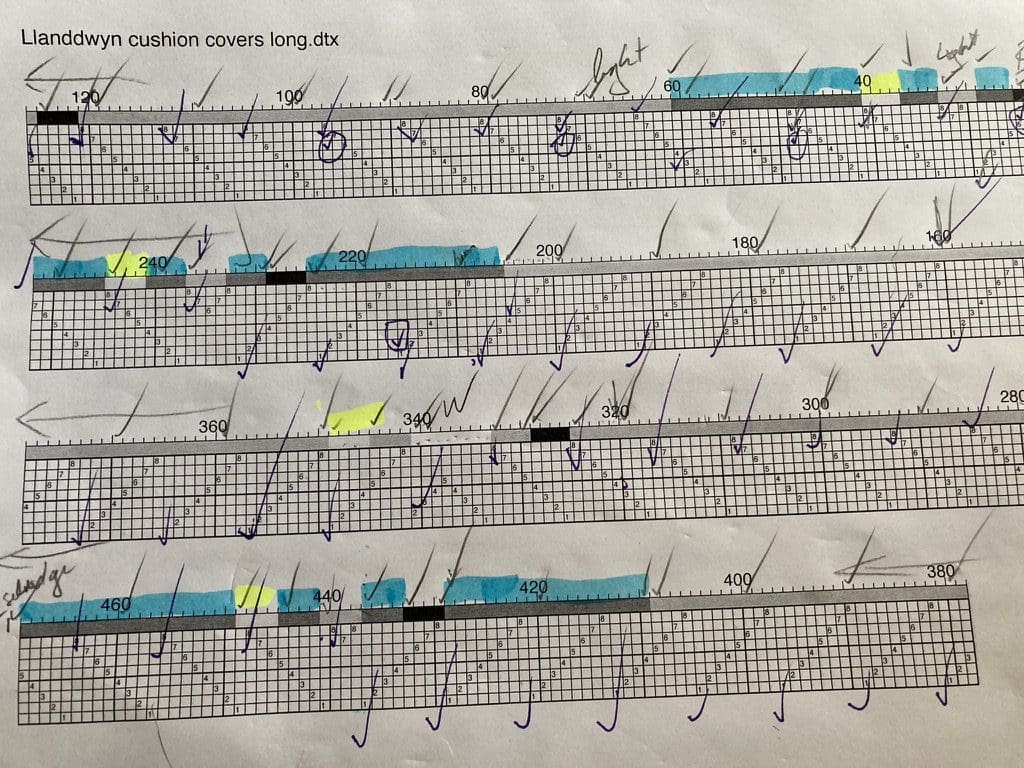
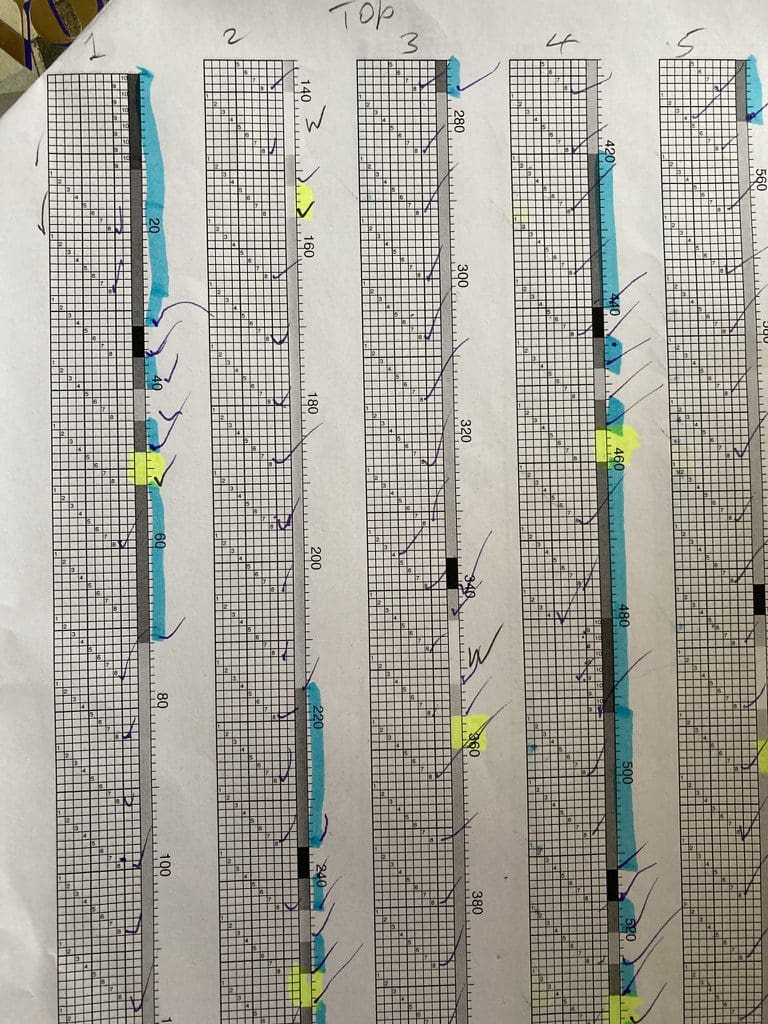
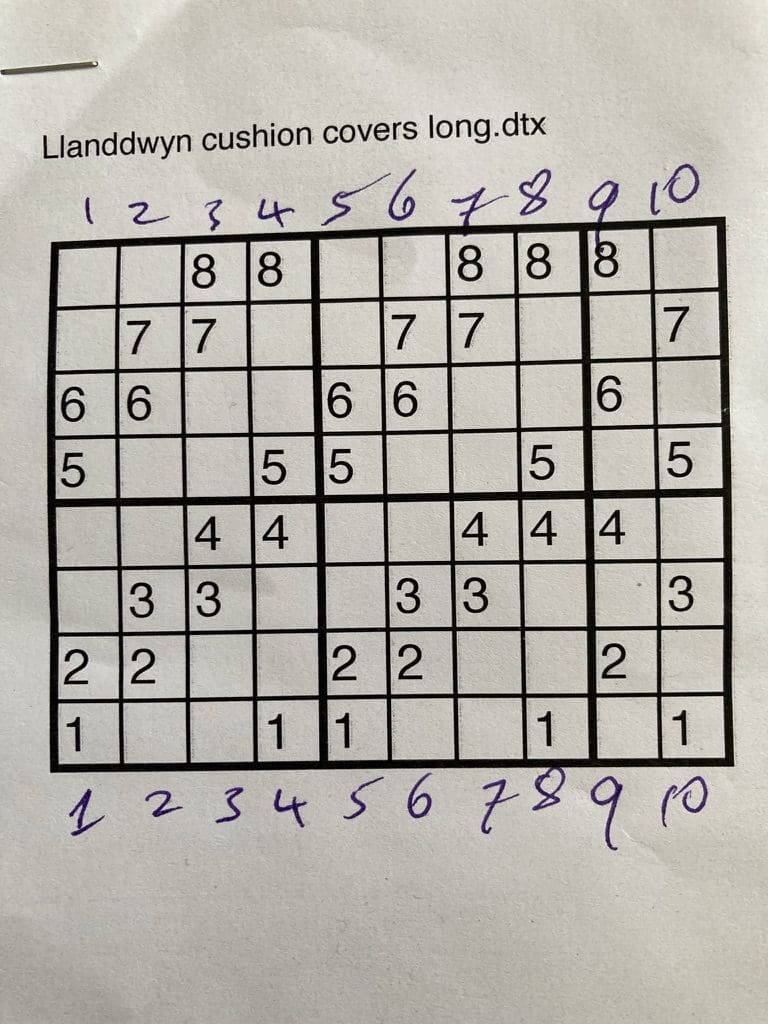
- I spent a day working on getting the pattern set up. I’m using the ‘Bronze’ product by FibreWorks. Very easy to copy (or duplicate) sections of pattern and colours. Very easy to use. I printed out patterns for the threading (heddles), tie-up (shaft setting for each shed) and treading (shed needed for each shot).
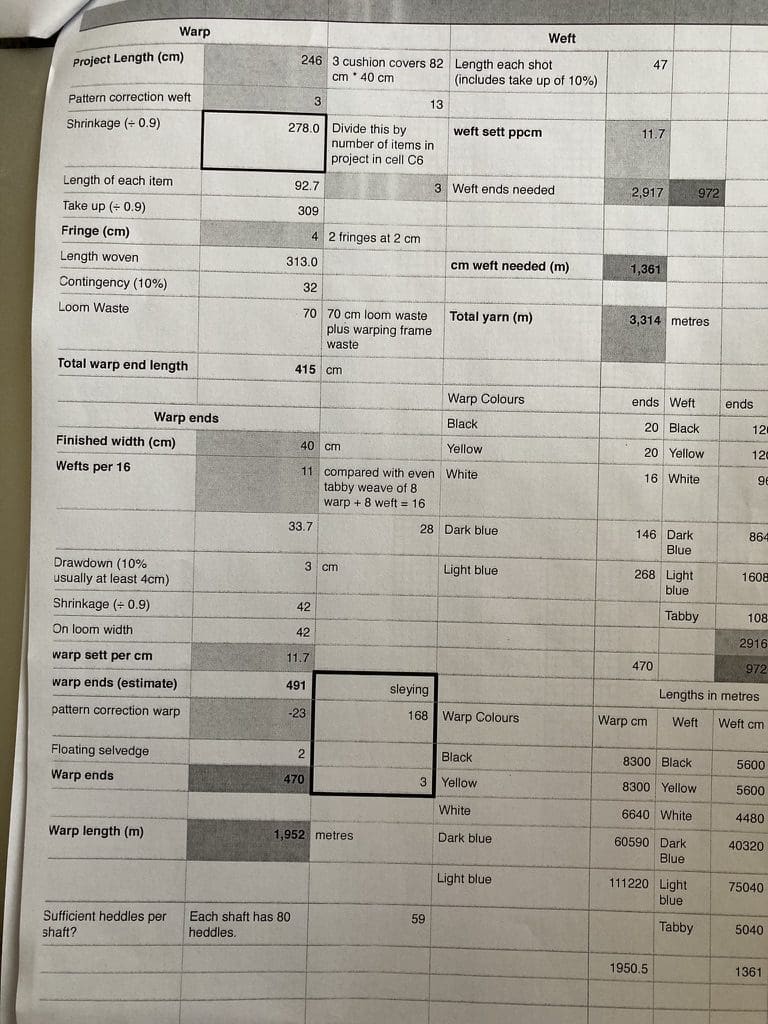
- I spent a day or so working through calculations on my ‘Weaving Calculator’ spreadsheet. All up, I need 3.314 km of yarn – 1.952 km for the warp and 1.361 km for the weft. 1.863 km of light blue and 1.059 of bark blue – the rest is 139 m each of yellow and black, and 111 m of white. I ordered my yarn from bbyarn. I’m using UKI Pearl Cotton 10/2 which comes in roles of 808.9 m per roll.
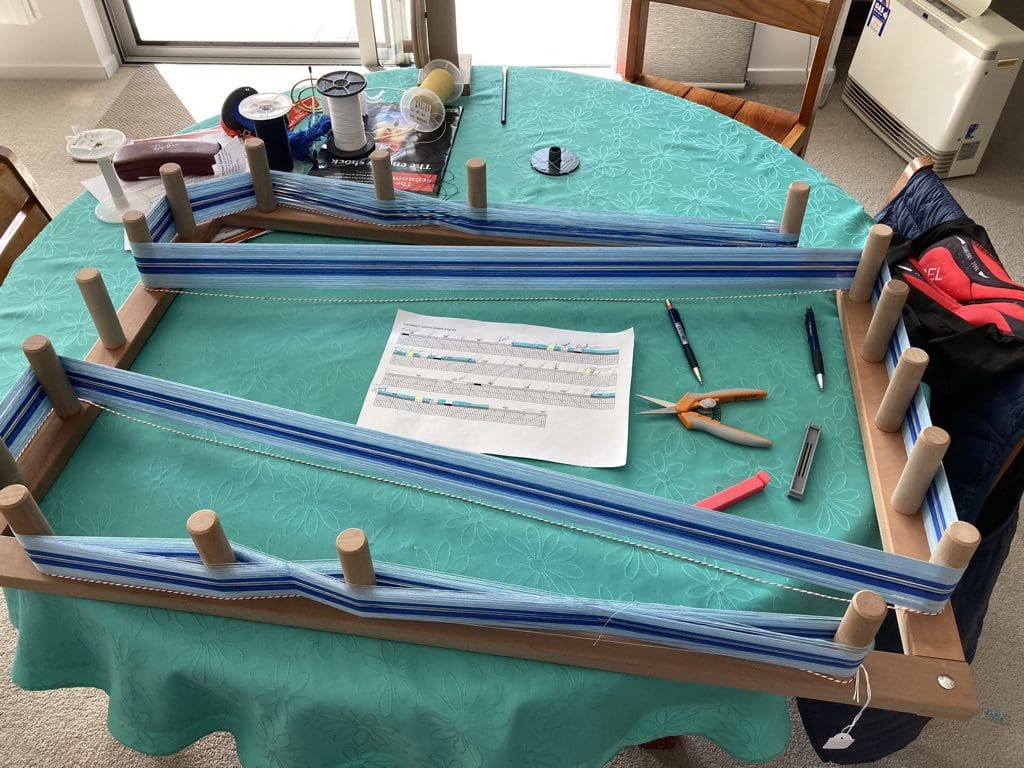
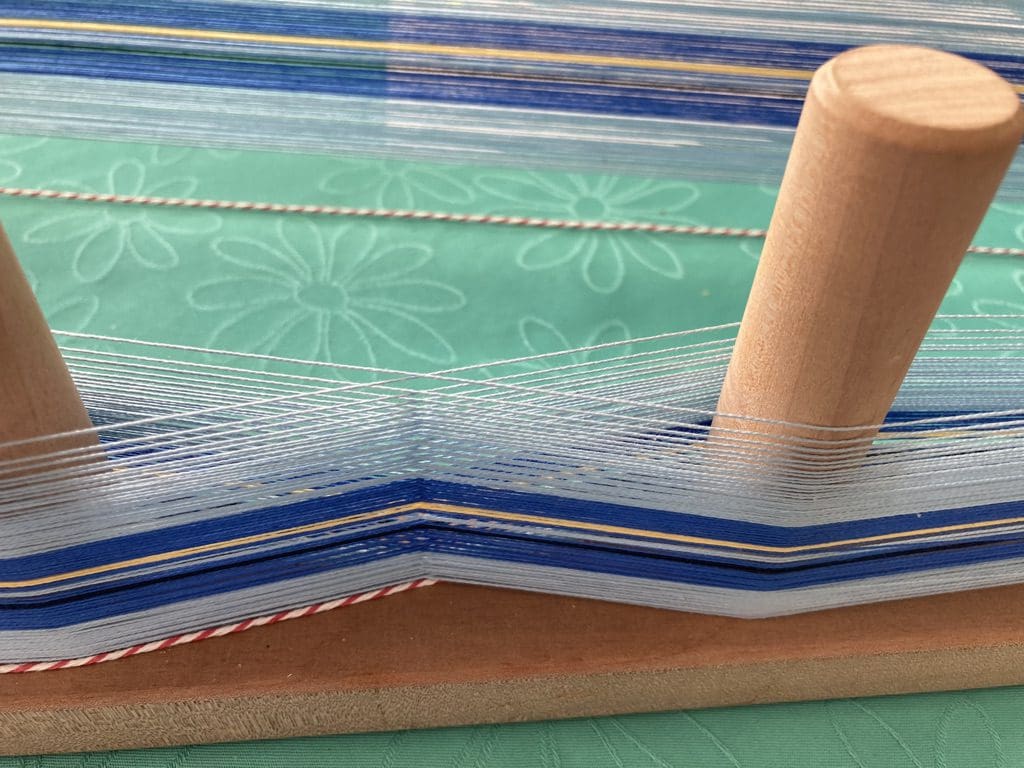
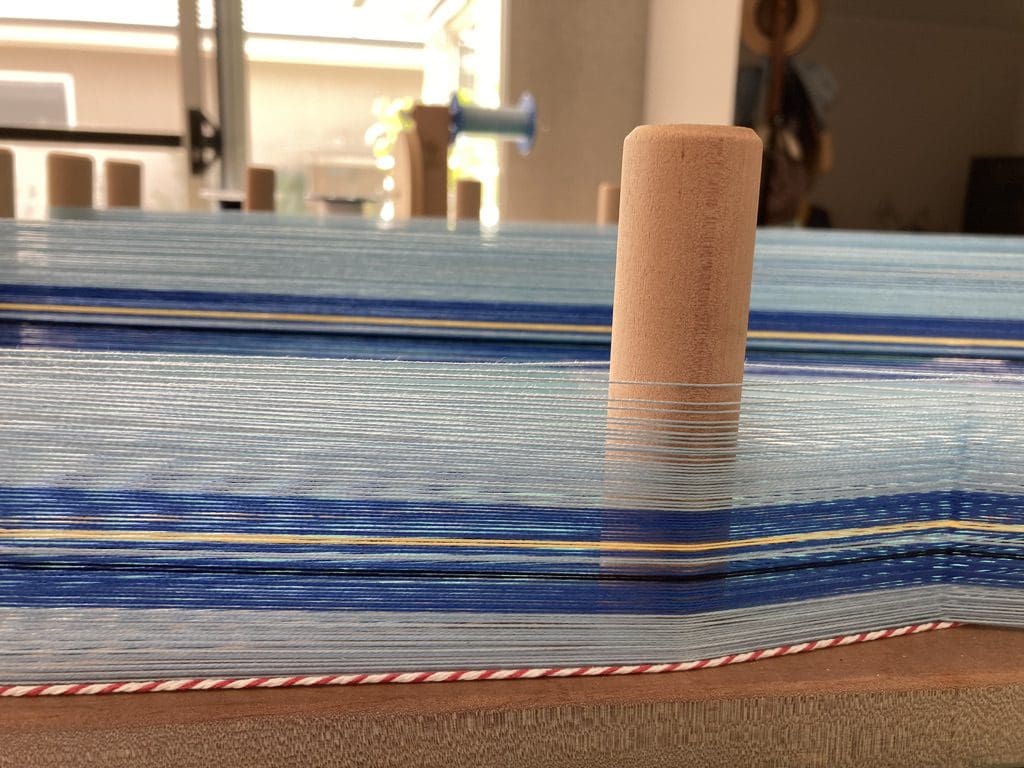
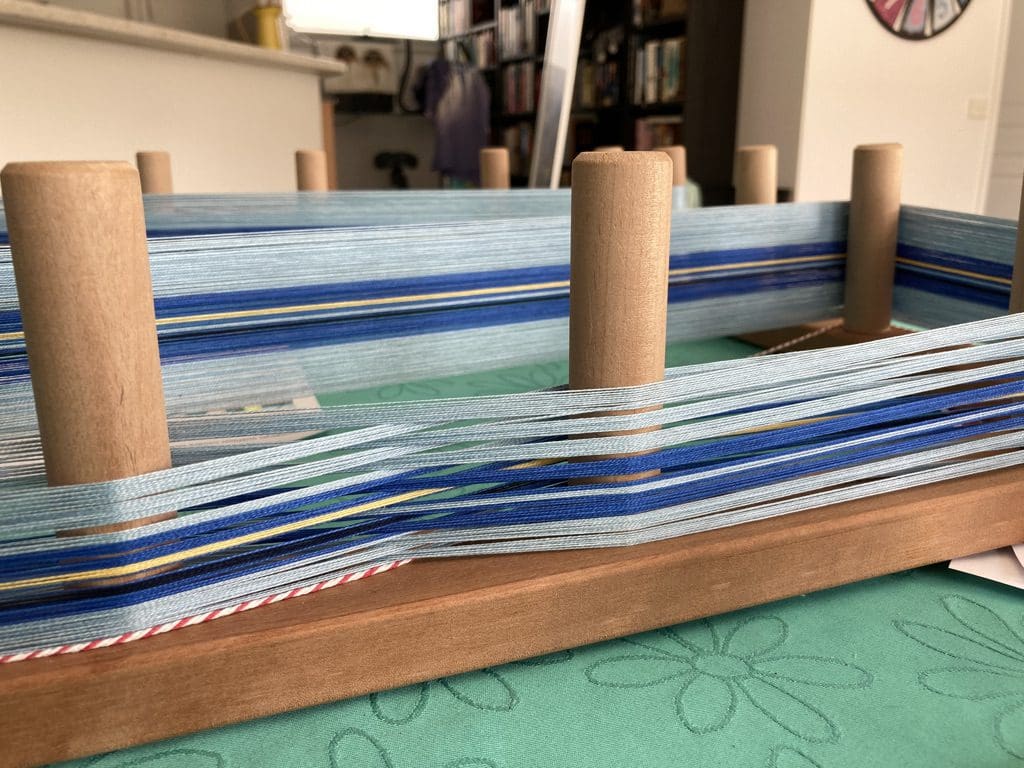
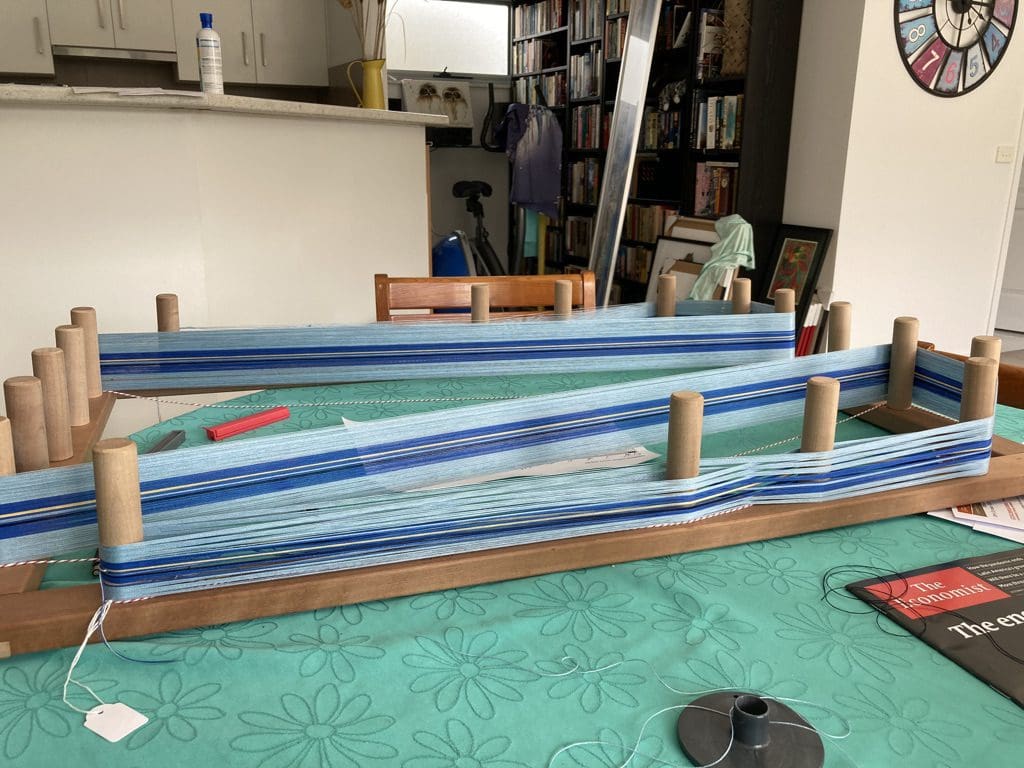
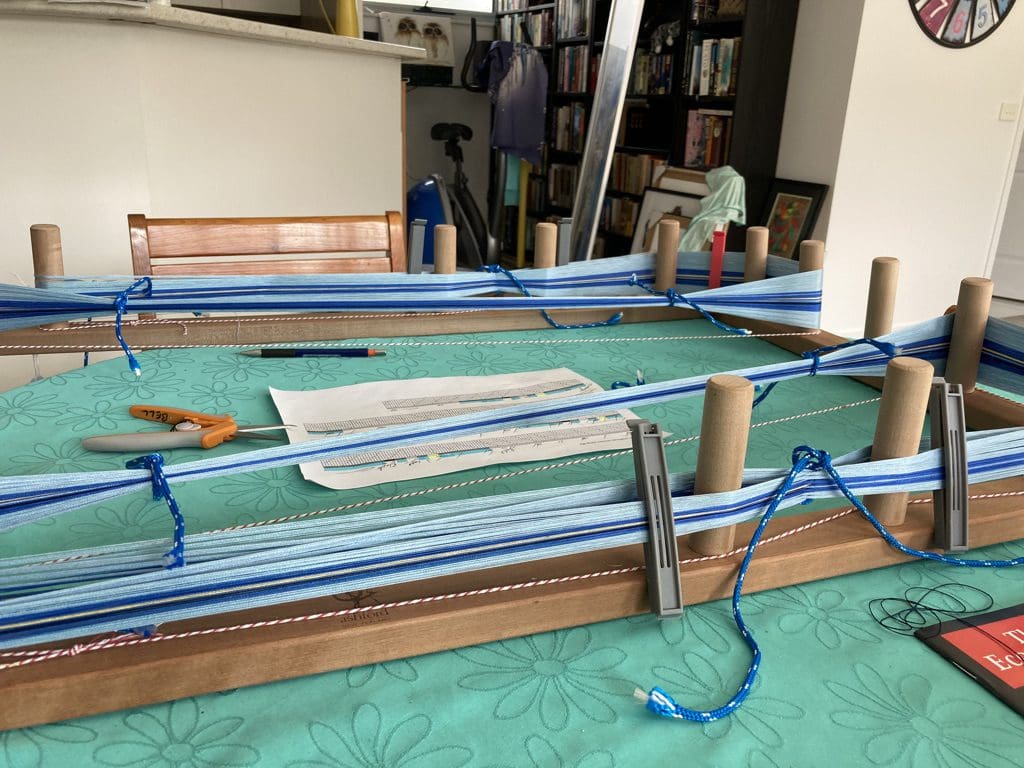
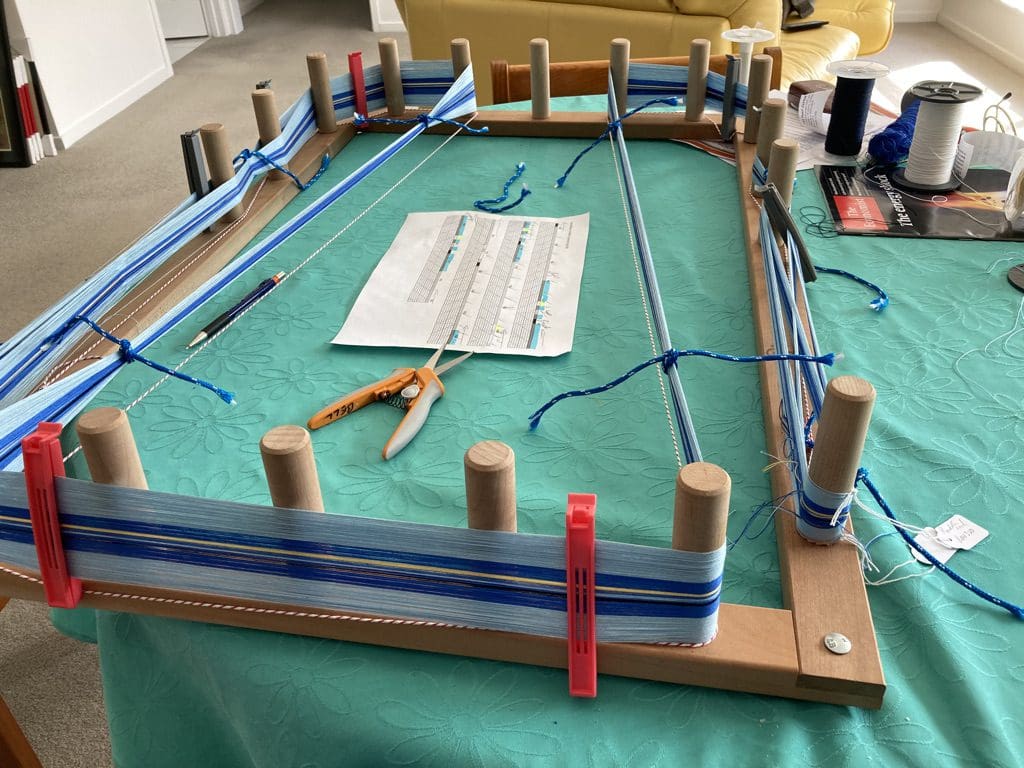
- It took me about a day to wind the 470 warp ends each 4.15 m long – a total of 1.952 km – onto my table warping frame. Being careful to cross every strand at the threading cross and keeping groups of 10 ends separate at the raddle cross. And colour changes. Lots of concentration and very hard on the back. So hard on the back that I’ve ordered a ‘warping mill’ which rotates around a central pole.
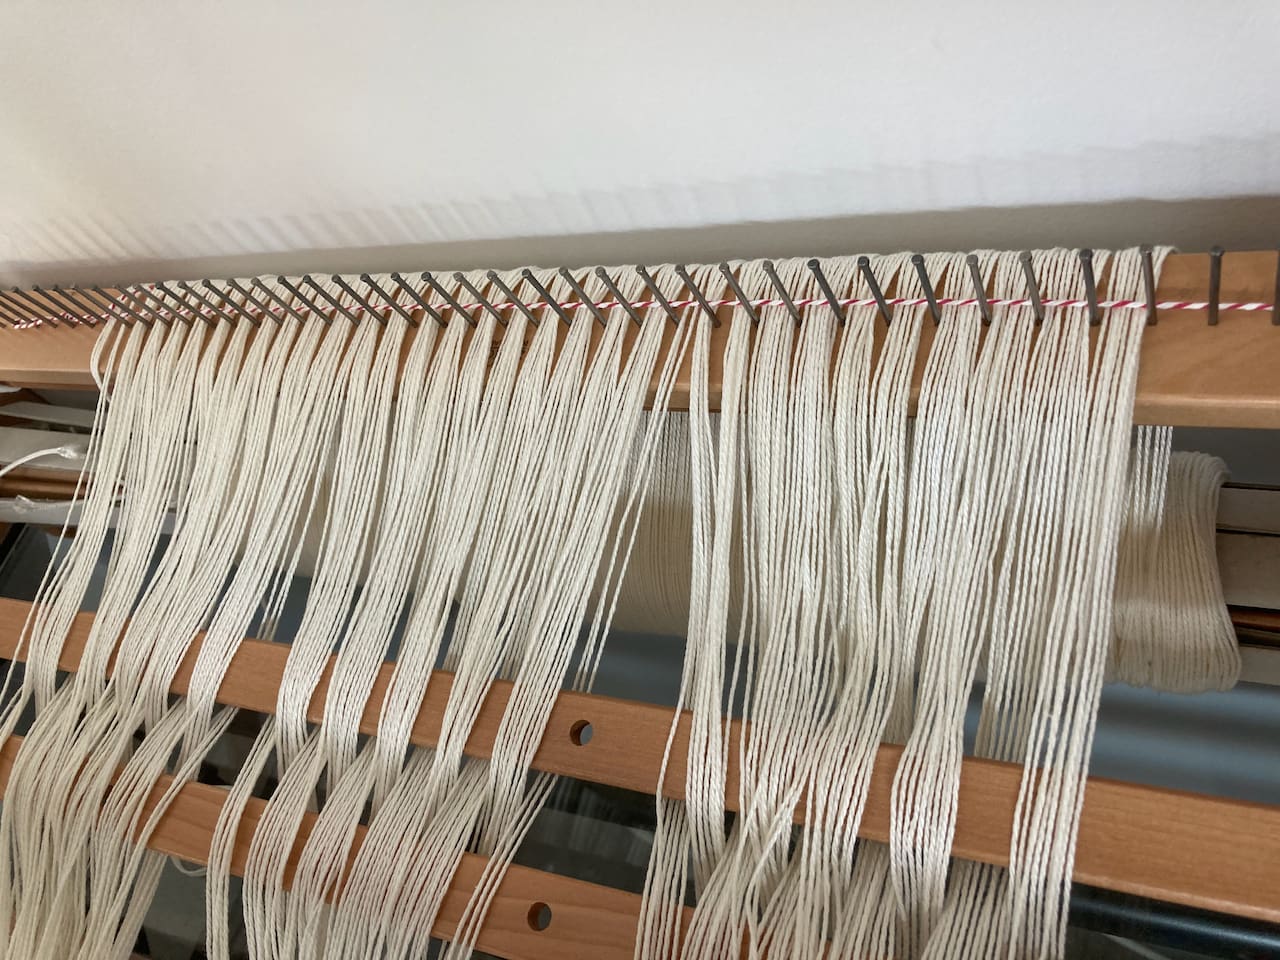
- Because of the short height of the warping frame pegs, I had to make three separate windings – each carefully labeled so I knew which was to go first, second and third onto the raddle in the correct order. It turned out that keeping constant tension on the three separate windings adds a degree of difficulty – each was slightly different in length.
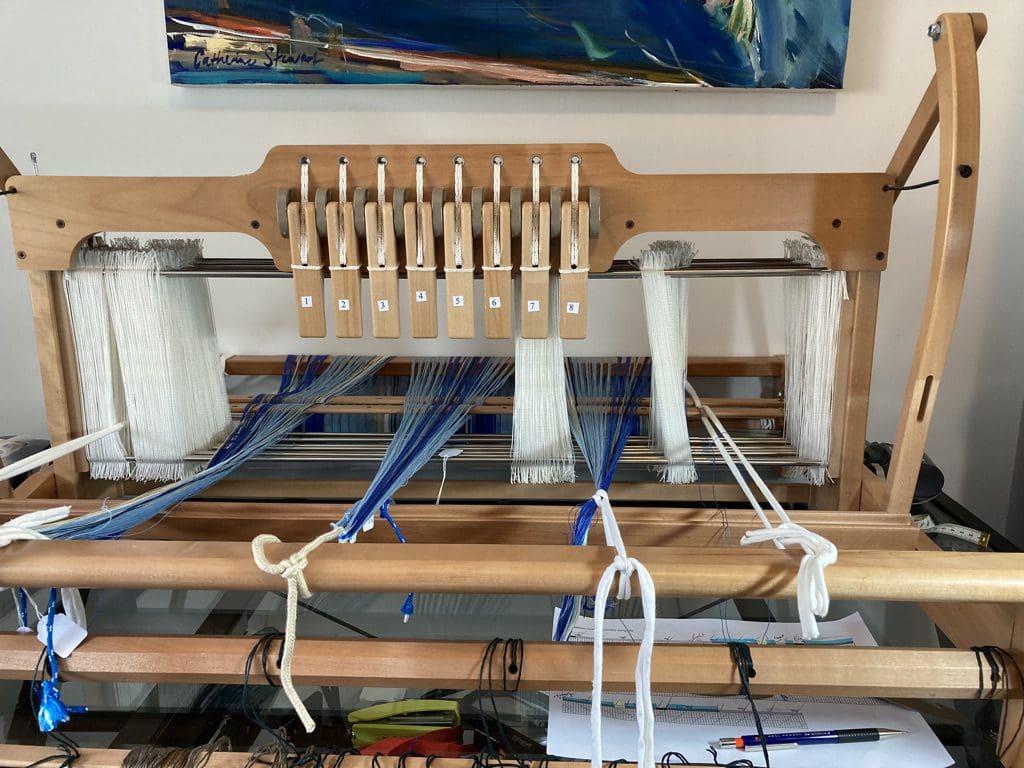
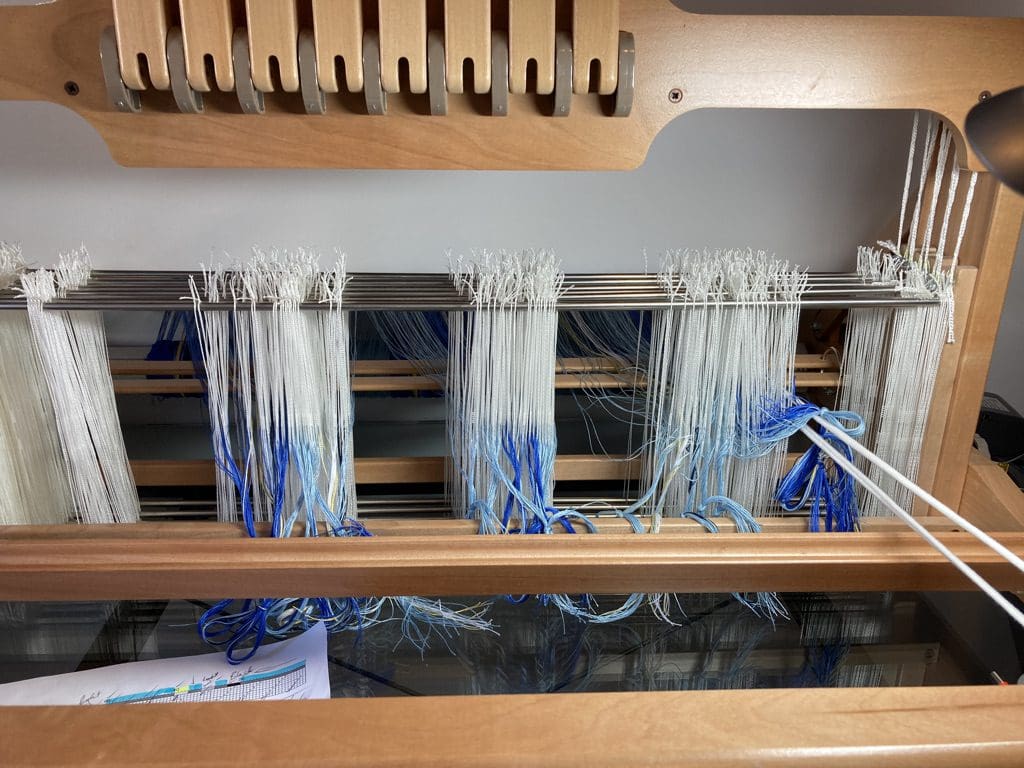
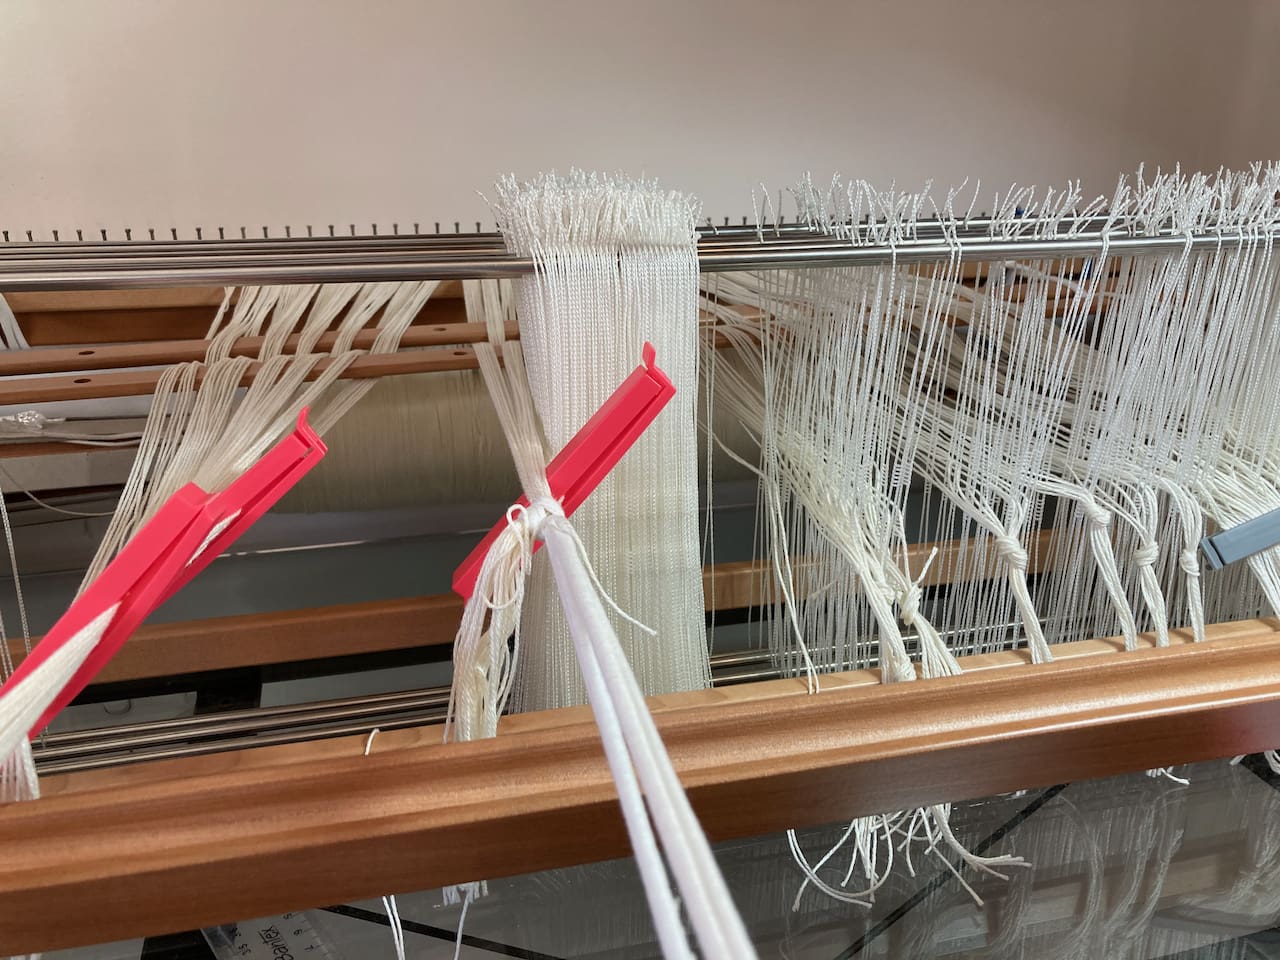
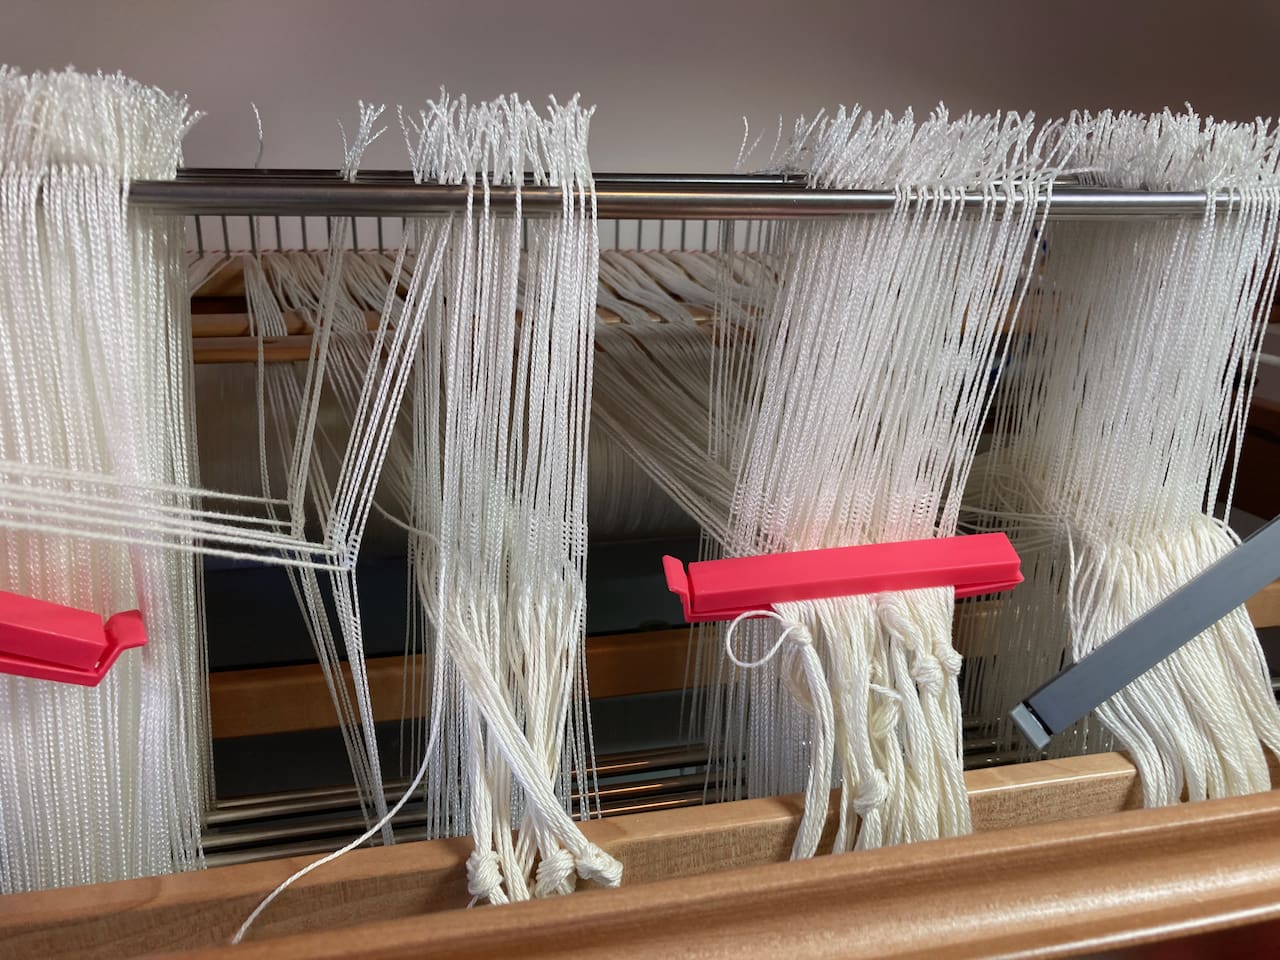
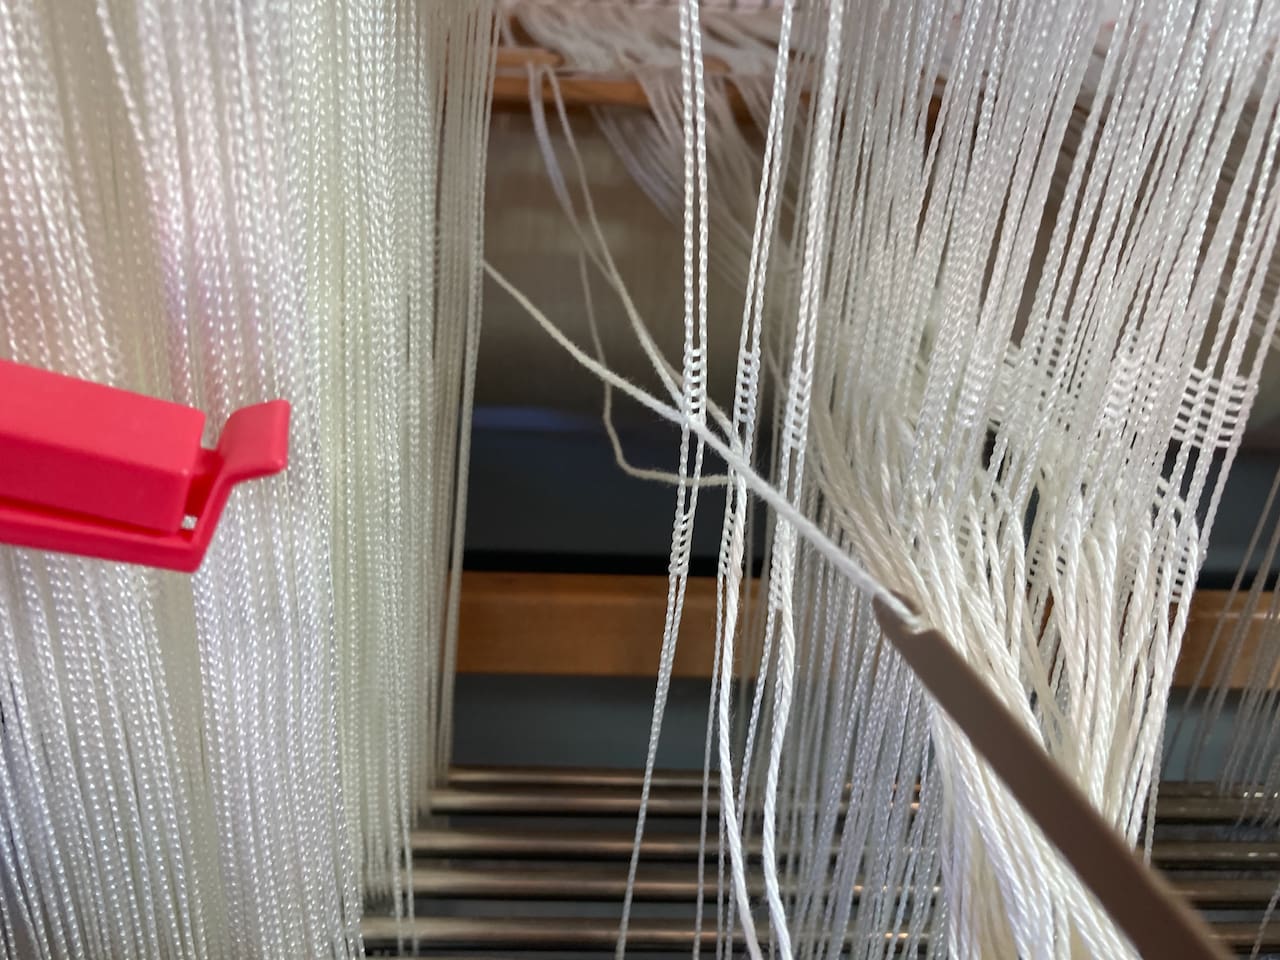
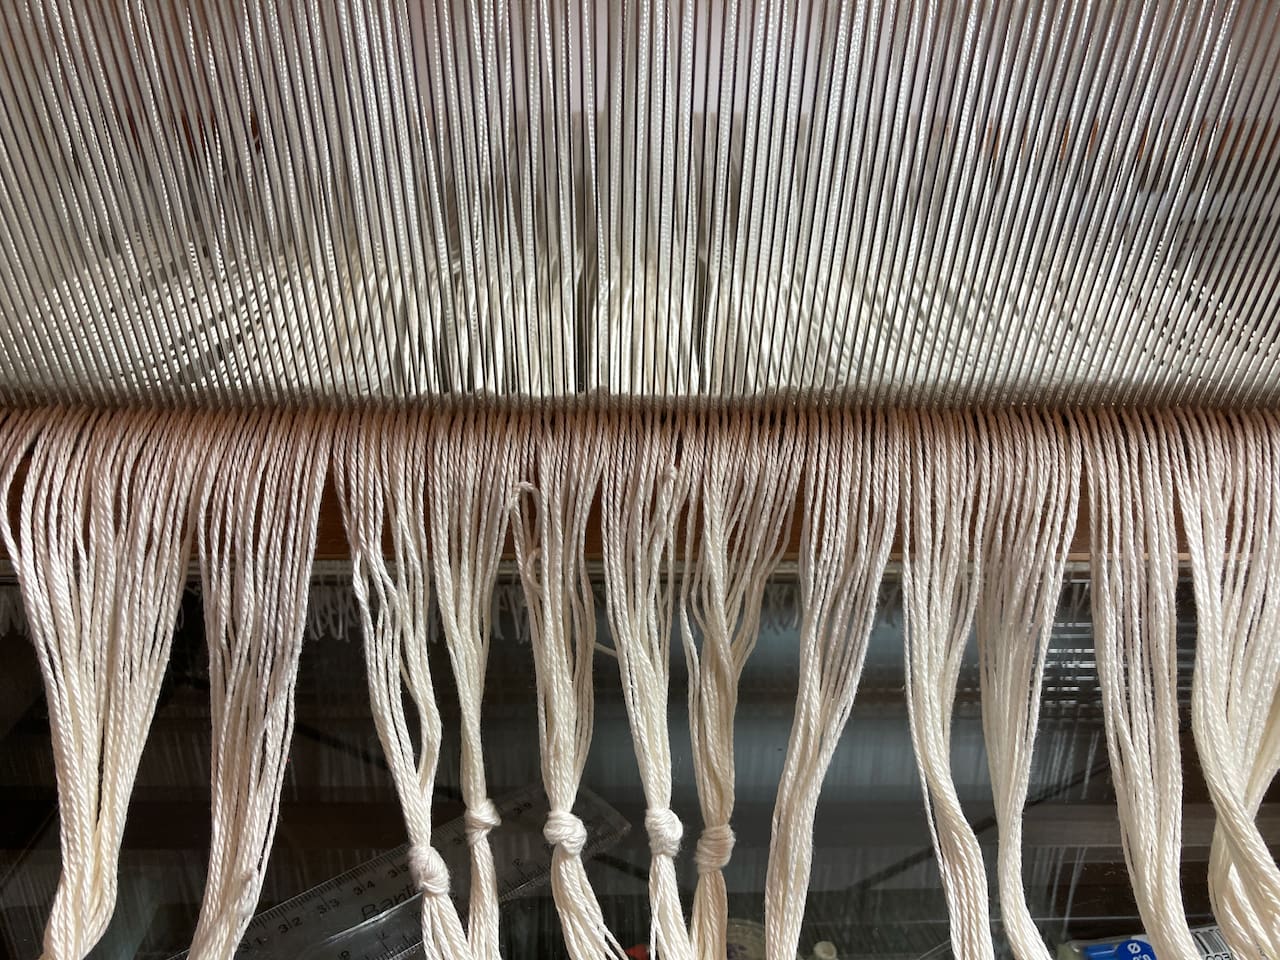
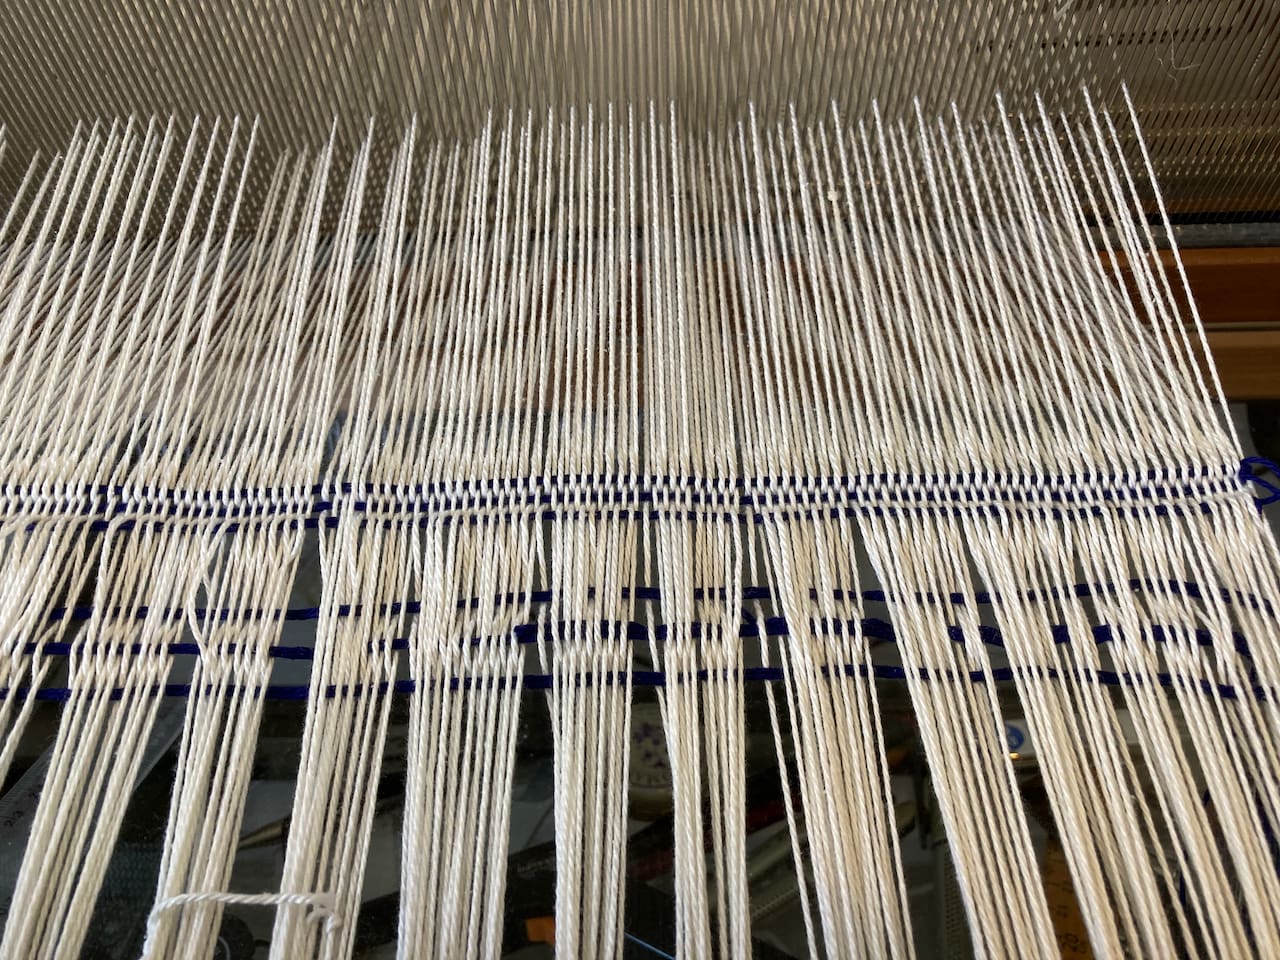
- Once on the raddle, and wound onto the back roller, each of the 468 warp ends had to be threaded through its heddle in the correct order. I counted, checked and tied off bundles of 16 ends. (The floating selvedge end on each side is not threaded through a heddle.) Ticking off groups of 8 in the threading pattern is essential.
- I sleyed the reed with 3 ends per reed dent and tied off in groups of 20 ends.
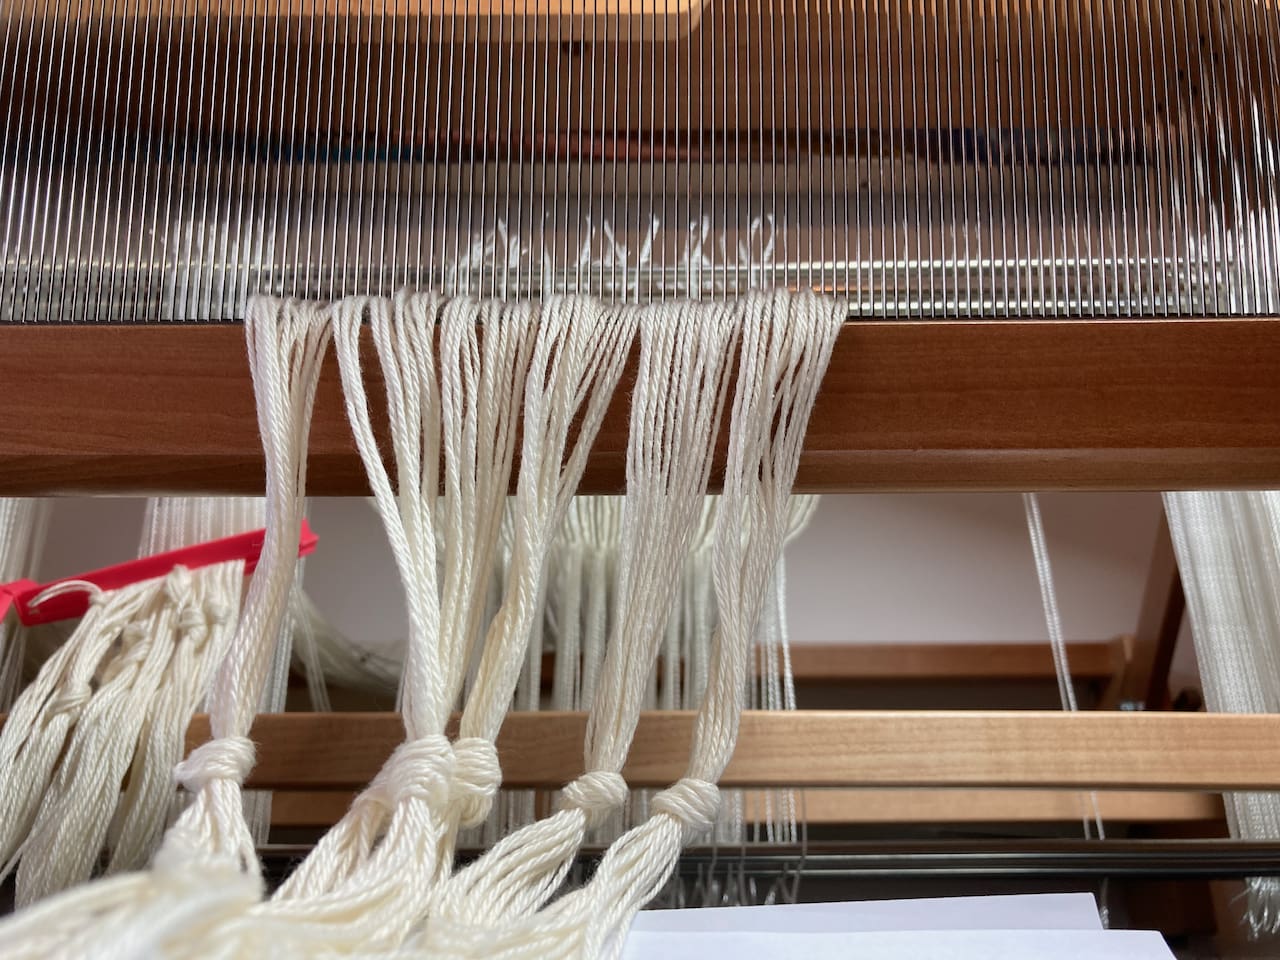
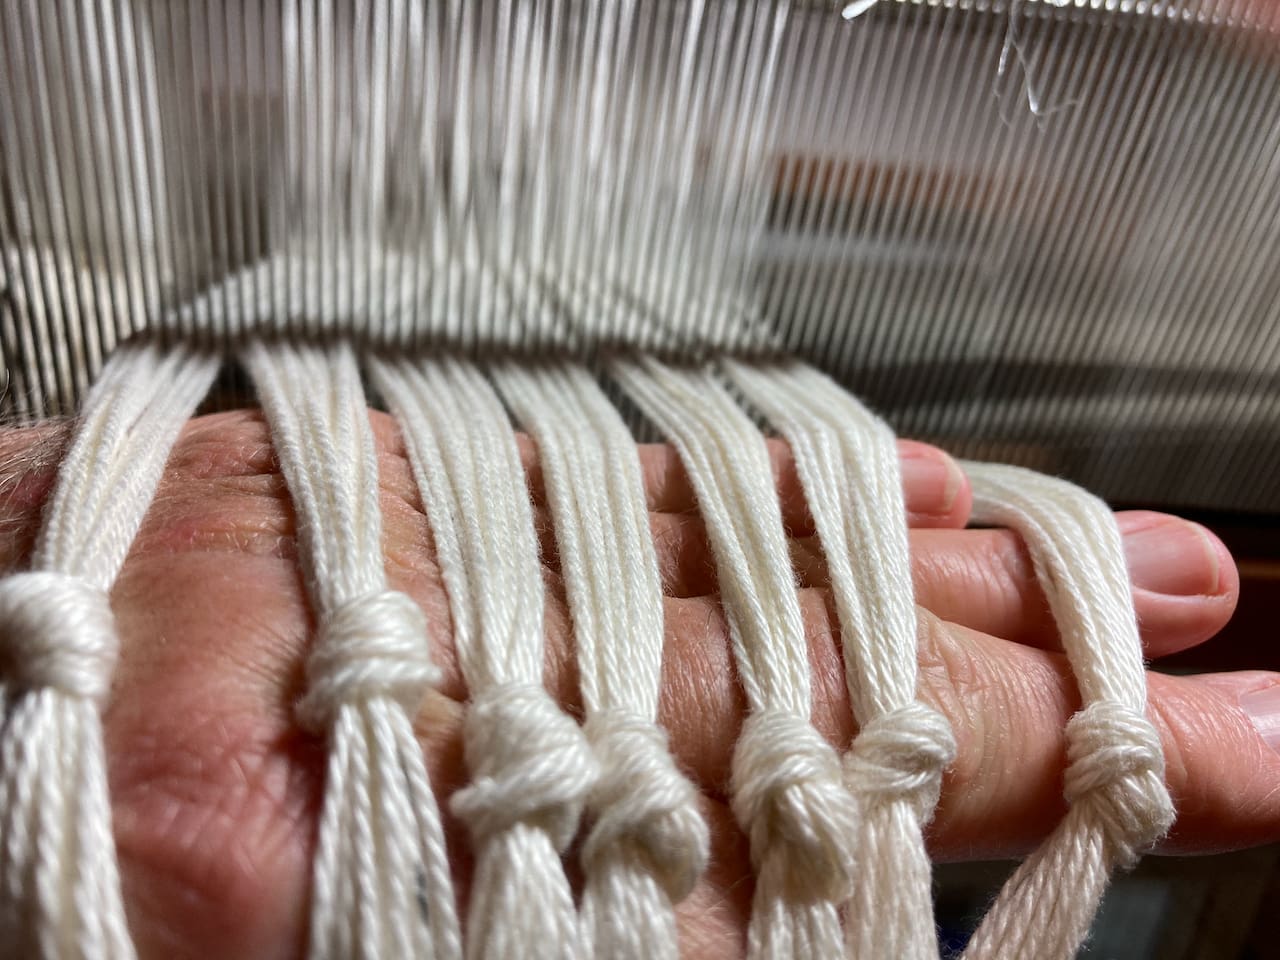
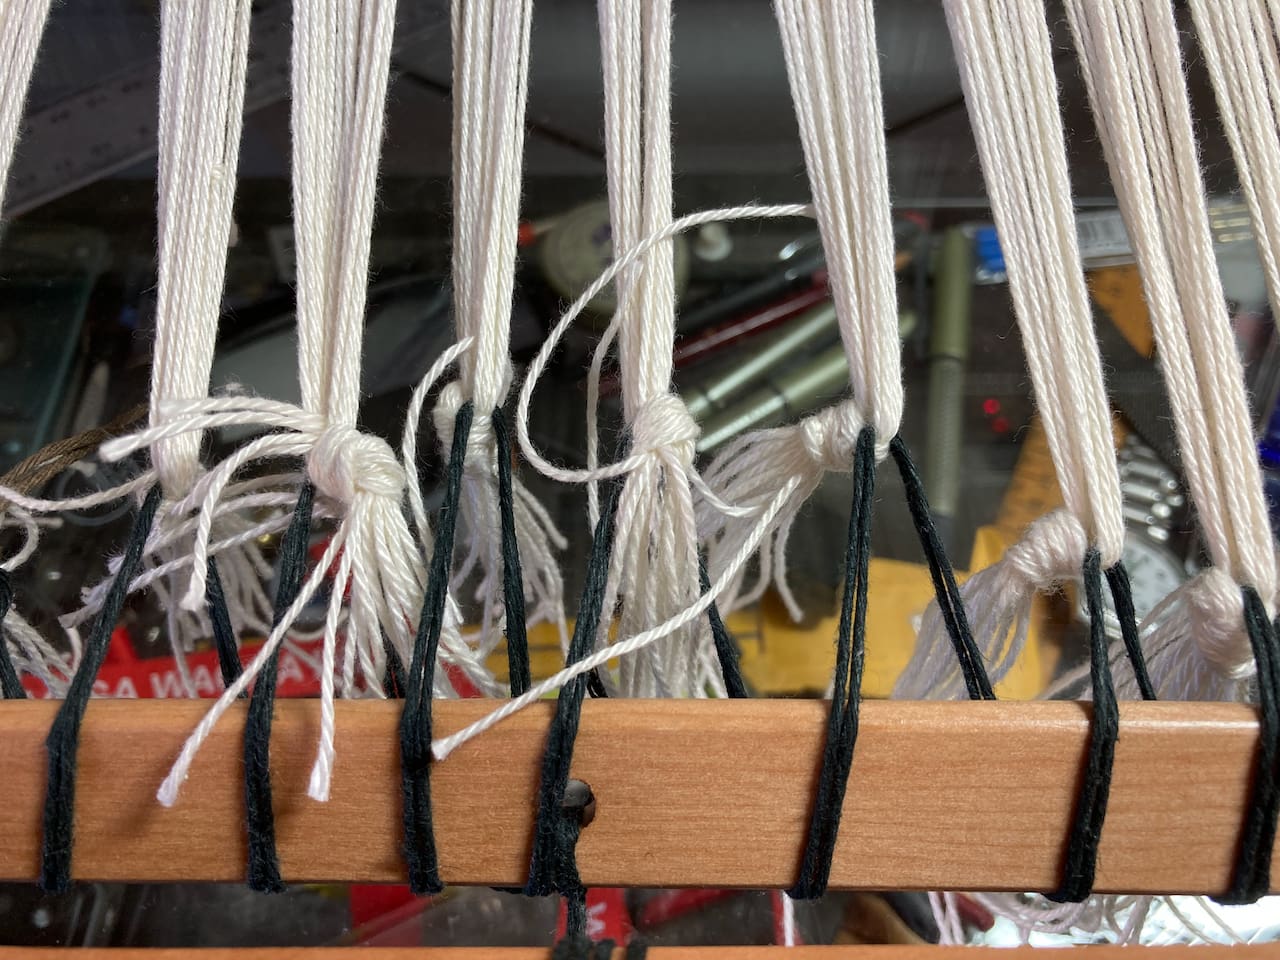
- Tying onto the front roller was tricky because of the slightly different lengths of the three windings – see step 6 above. As it turned out, it was very difficult to achieve a constant tension across the full width of the warp.
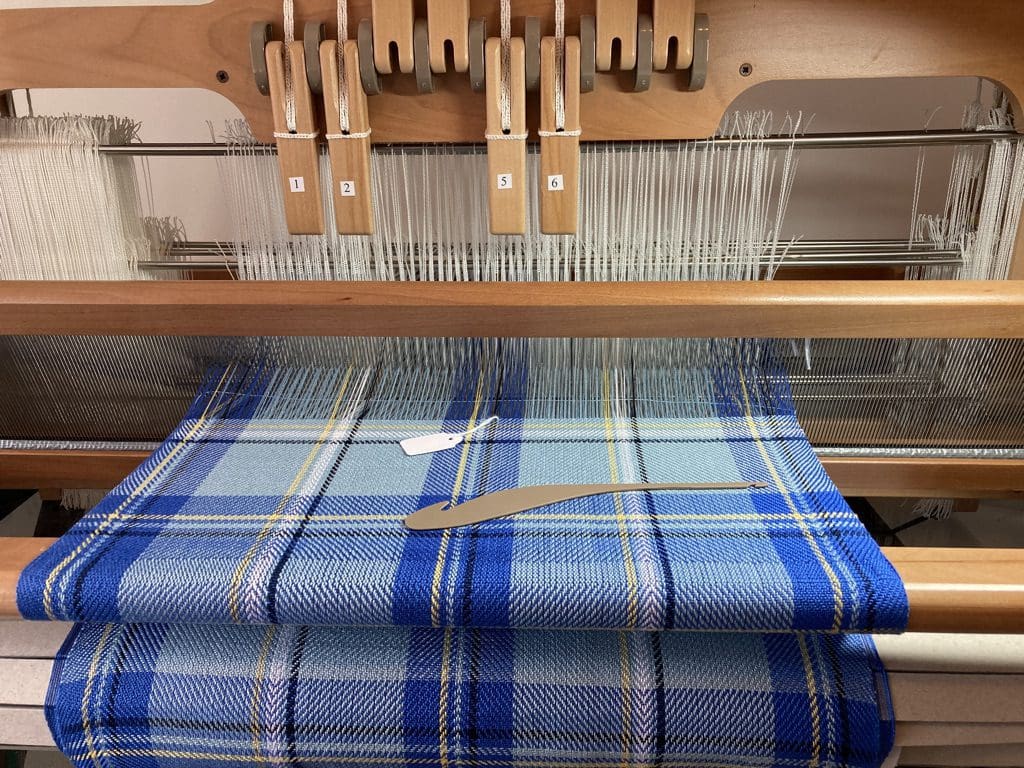
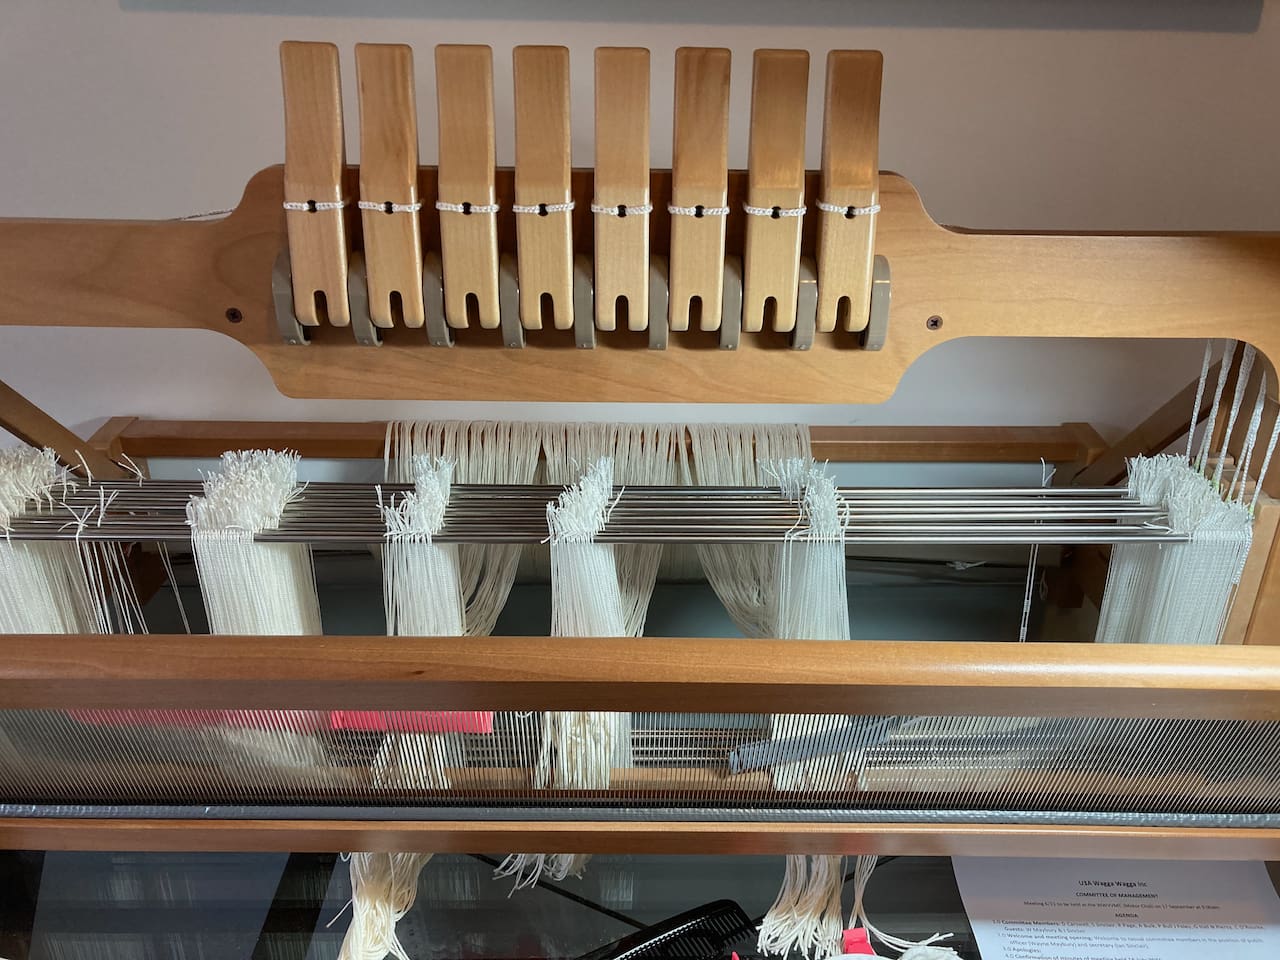
- Shuttling requires constant concentration. Although my loom has 8 shafts, the pattern really only needs 4 shafts – shot 1 is identical to shot 5, 2 = 6, 3 = 7 and 4 = 8. So the order is very easy to remember. Issues with shuttling:
- Making certain the ‘boat shuttle’ does not grab a string from below or above its shed – usually from below.
- Forget to shoot the shed that is set. To avoid this, I decided that all odd numbered shots come in from the right and even numbered shots come from the left. It was surprising how often I was about to throw an odd shot from the left. If this happens, retrace steps until the error is found.
- The twill pattern required 4 shaft movements for each new shed. Count those four clacks as the shafts change. If you had only 3 or 5, work backwards to find the error.
- Changes of tension appeared often across the warp. I did not find a universal solution. I began packing the front roller with folded pieces of paper to add more tension to where it appeared necessary. This worked quite well for most of the way with lines of weft colour running across parallel to the front edge of the loom. However, from about row 700 of the last piece, I began to see weak spots in the weave. To solve this, I added packing to the back beam. It worked but not well.
- Counting weft rows. I found that it was best to count weft rows in groups of 8 – as nicely presented by the pattern. This mainly worked well. There were only a couple of times that I had to count all rows in a colour group when distance woven did not match with rows shot. I found that ticking off weft groups of 8 in the treading pattern is essential.
- Winding on and tension. I found that I could do no more than about 80 weft shots before I had to wind on because the shuttle could no longer easily go through the shed. Best not to go anywhere near that tight. I had to work within two boundaries – the Ashford loom does not like to beat too close to the front beam (no closer than 6 cm) and cannot get much closer than 8.5 cm to the reed to shoot the shuttle. The total distance from front beam to reed is 22 cm. So only 7.5 cm is available (22 – 6 – 8.5cm) between wind-ons. Getting the tension right after winding-on is always tricky. It should be as loose as possible. Unfortunately, too loose and it is easy to pick up threads from the bottom of the shed with the shuttle. Tighten one click when this happens and try again.
- Beating. Beat just once after each shot. When I began weaving, I was beating 3 or 4 times after each shot with a lot of pressure. It took me ages to persuade myself to beat just twice – and then discipline to not beat more. Now, I am beating just once and even easing up on the pressure of each beat. Surprisingly, beating just once gives a tighter weft sett – more wefts per cm woven.
- I was able to do no more than about 300 weft shots per day and even then that had to be broken up into sessions of 70 to 100 shots. Changing colour even 4 shots is a real drag. I used three boat shuttles – one for light blue, one for dark blue and the third for the other colours (black, white and yellow). It took a couple of weeks to finish all 2,917 ends.
- I cut the weaving from the loom on the Thursday 10 days before the craft fair and handed it over to Helen for sewing.
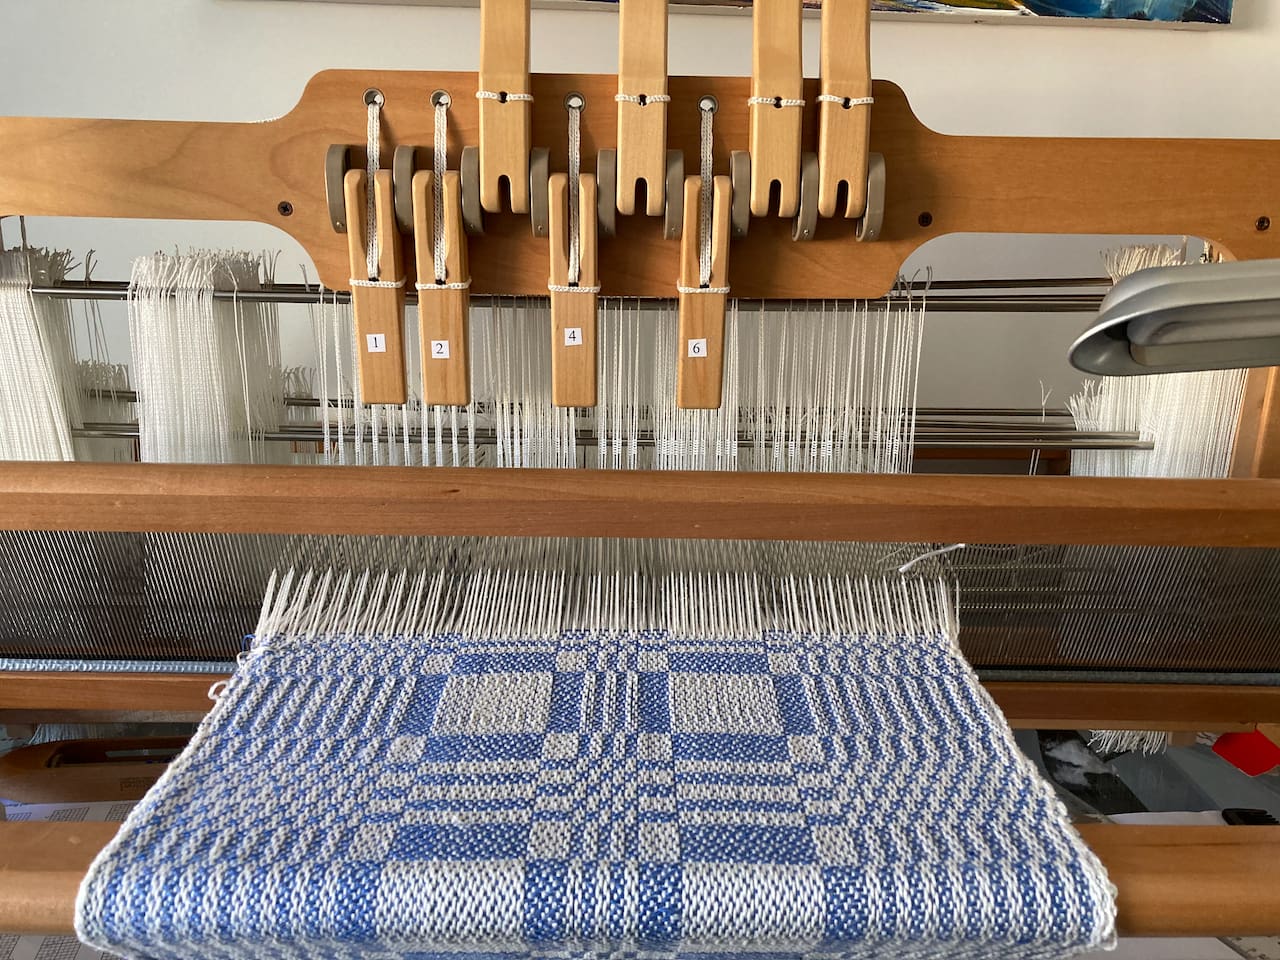
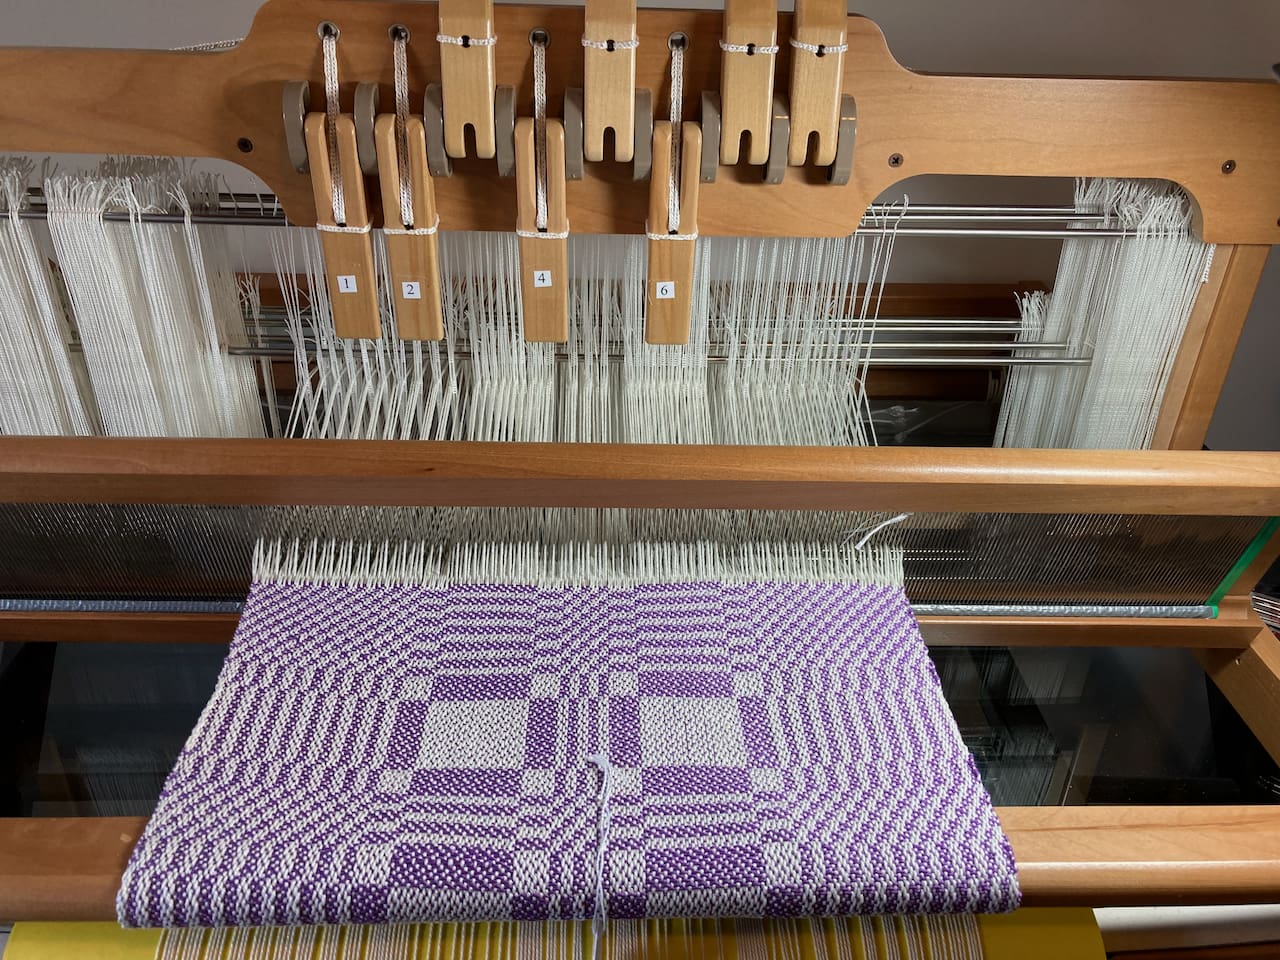
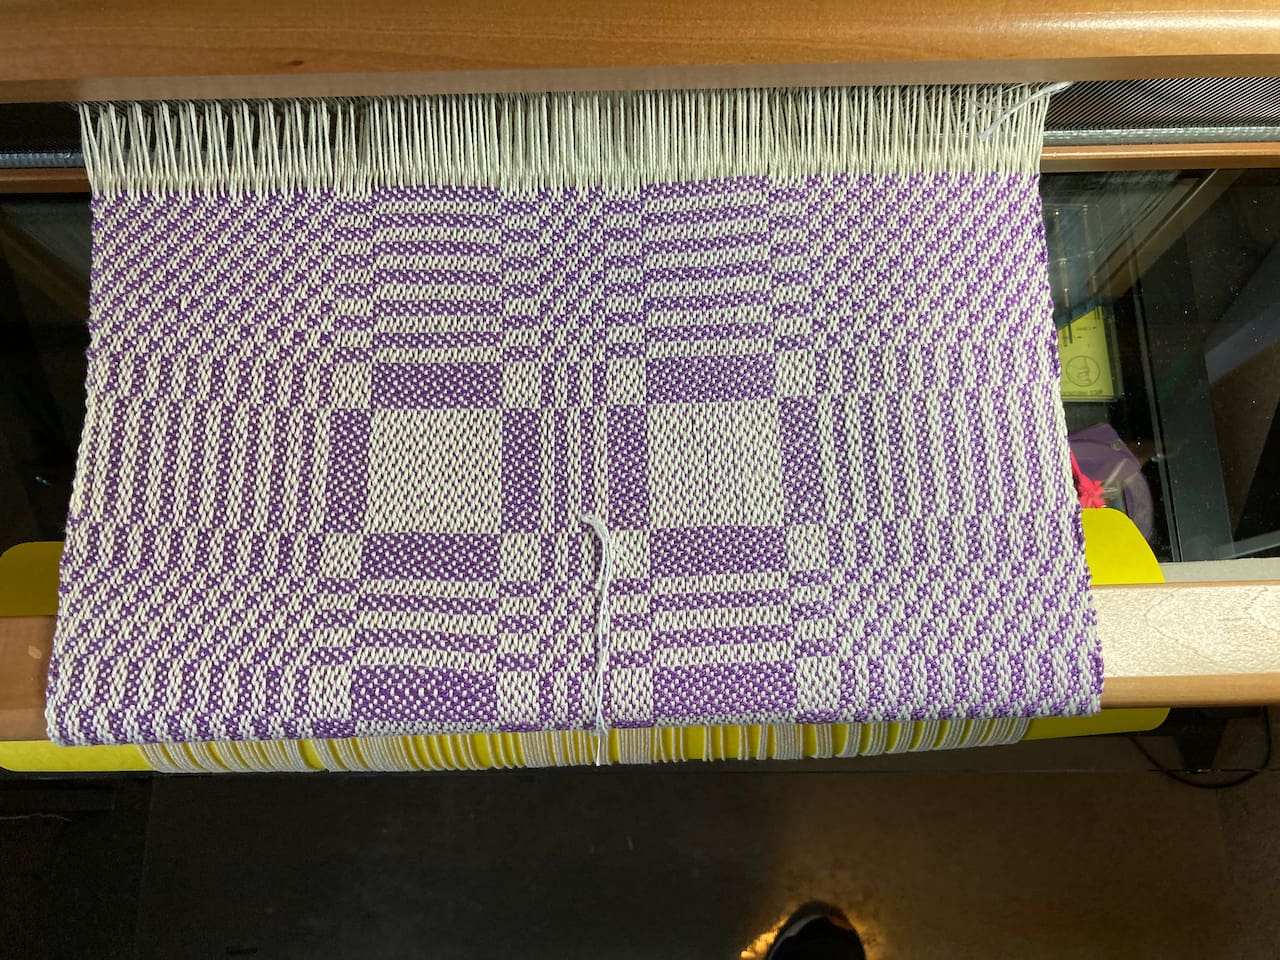
- It came up very well.
